Flowtly's Assets module lets you track physical resources — laptops, rooms, equipment, vehicles — and manage reservations for them. This tutorial walks you through adding your first asset and setting up bookings so teams can reserve shared resources.
What you'll do
- Open the Assets section
- Add a new asset
- Configure reservation settings and book it
Step 1: Open the Assets section
From the sidebar, expand Operations and click Assets. You'll see the full asset list with columns for Property name, Asset type, Booking type, Localization, and a Reservations column.
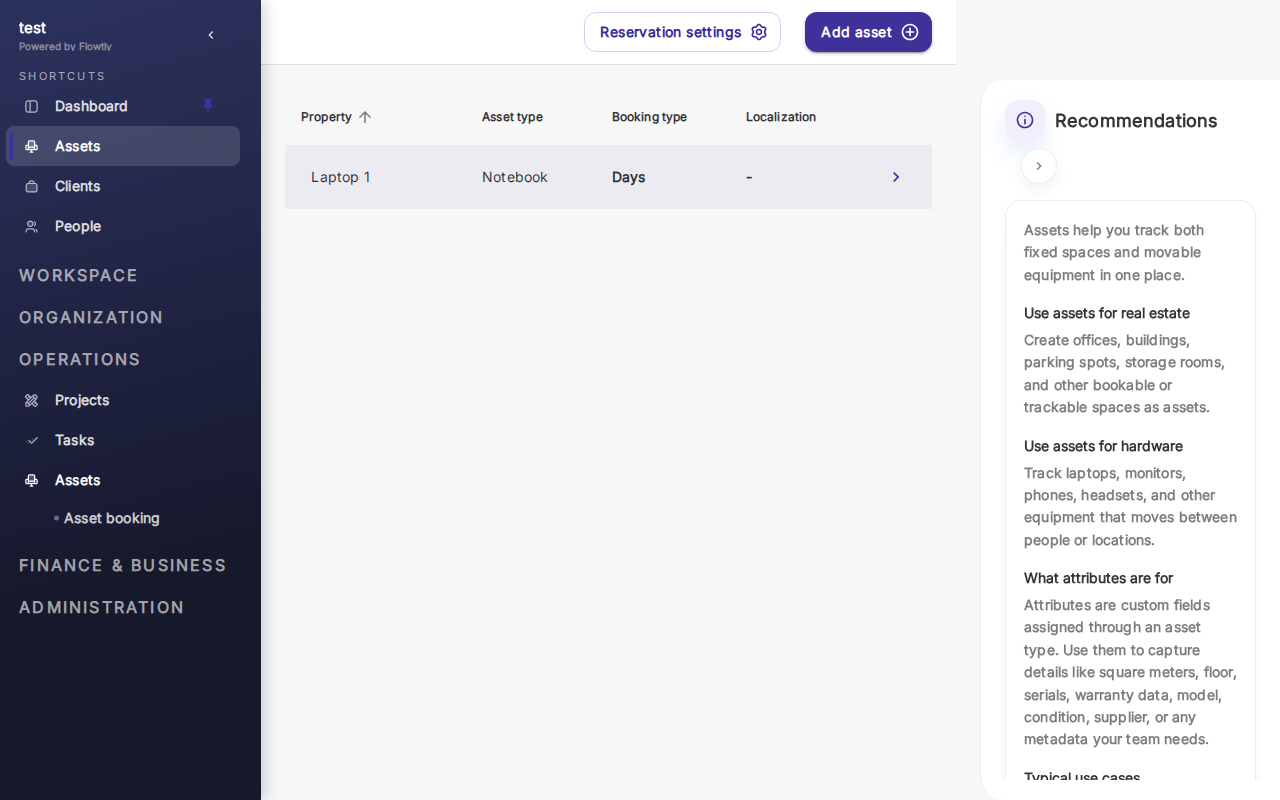
On the right of the page, the Recommendations panel suggests practical use cases: real estate (office rooms, parking spots, storage), hardware (laptops, monitors, phones, cameras), and more. Assets support custom fields for things like serial numbers, warranty expiry, and condition.
Step 2: Add a new asset
Click Add asset in the top-right. Fill in the asset name, type (laptop, room, vehicle, etc.), and location. Choose the booking type — for example, per day for long-term checkouts or per hour for room bookings.
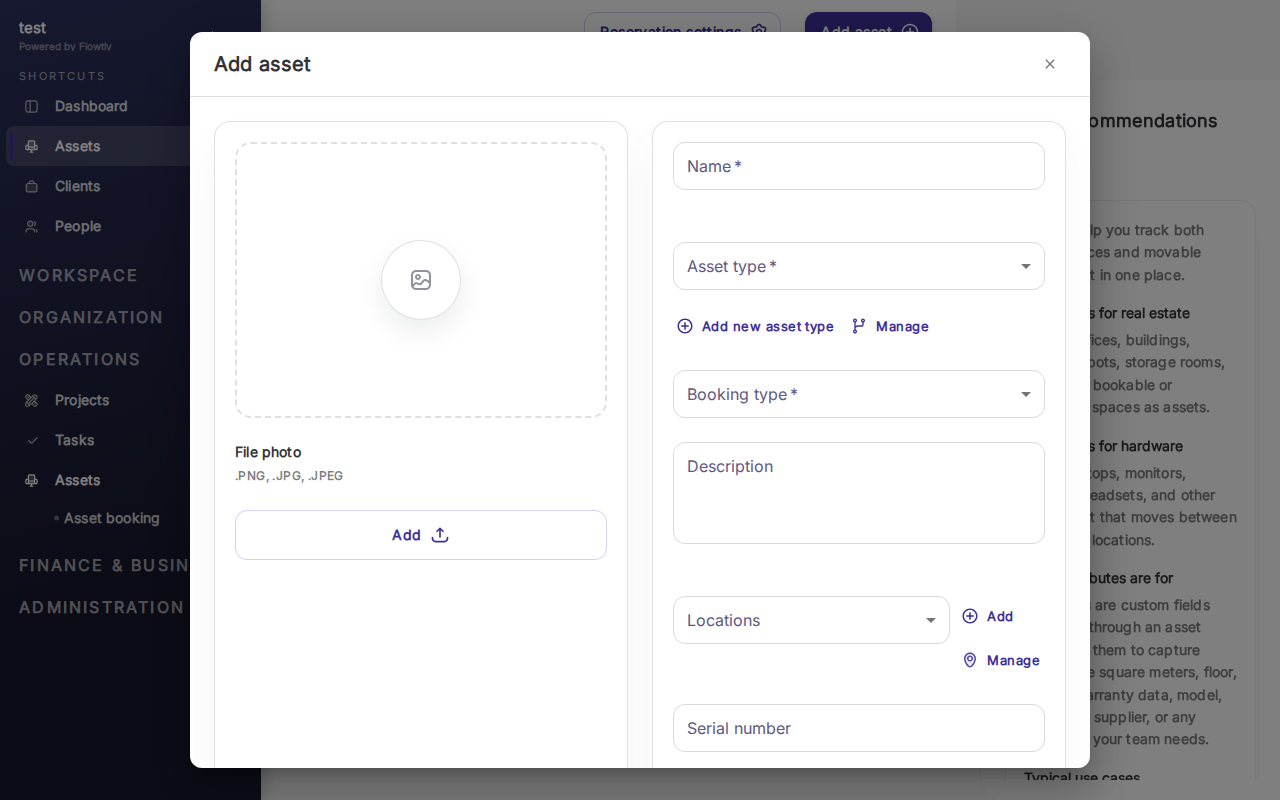
Save the asset. It appears in your list immediately and can be booked by anyone with access to the resource.
Tip: Use custom fields to store asset-specific metadata like serial number, warranty expiry, or condition. These fields are searchable across the whole asset list.
Step 3: Configure reservations
From the asset list, click Reservation settings at the top of the page to configure booking rules — who can reserve, default duration, approval requirements. Individual team members can then book the asset from the Asset booking section.
Reservations show up in the Reservations column of the main list, so you can see at a glance which assets are in use.
Important: Set clear reservation policies early. Without them, shared assets get double-booked or held longer than needed.
You're finished
Your assets are now tracked and bookable. Every reservation is logged, and the asset list gives you a real-time view of what's available and what's in use. From here, add more assets (rooms, vehicles, equipment) and refine reservation rules per asset type.