Protecting your Flowtly account with Multi-Factor Authentication (MFA) adds a critical layer of security beyond just a password. This tutorial walks you through enabling MFA on your account and managing trusted devices so you can bypass repeated MFA prompts on devices you use every day.
What you'll do
- Open your security settings
- Start MFA setup and scan a QR code with an authenticator app
- Review recovery codes and trusted devices
Step 1: Open your profile menu
Start from the Flowtly dashboard. Click your avatar in the top-right corner to open the user menu, then select Security.

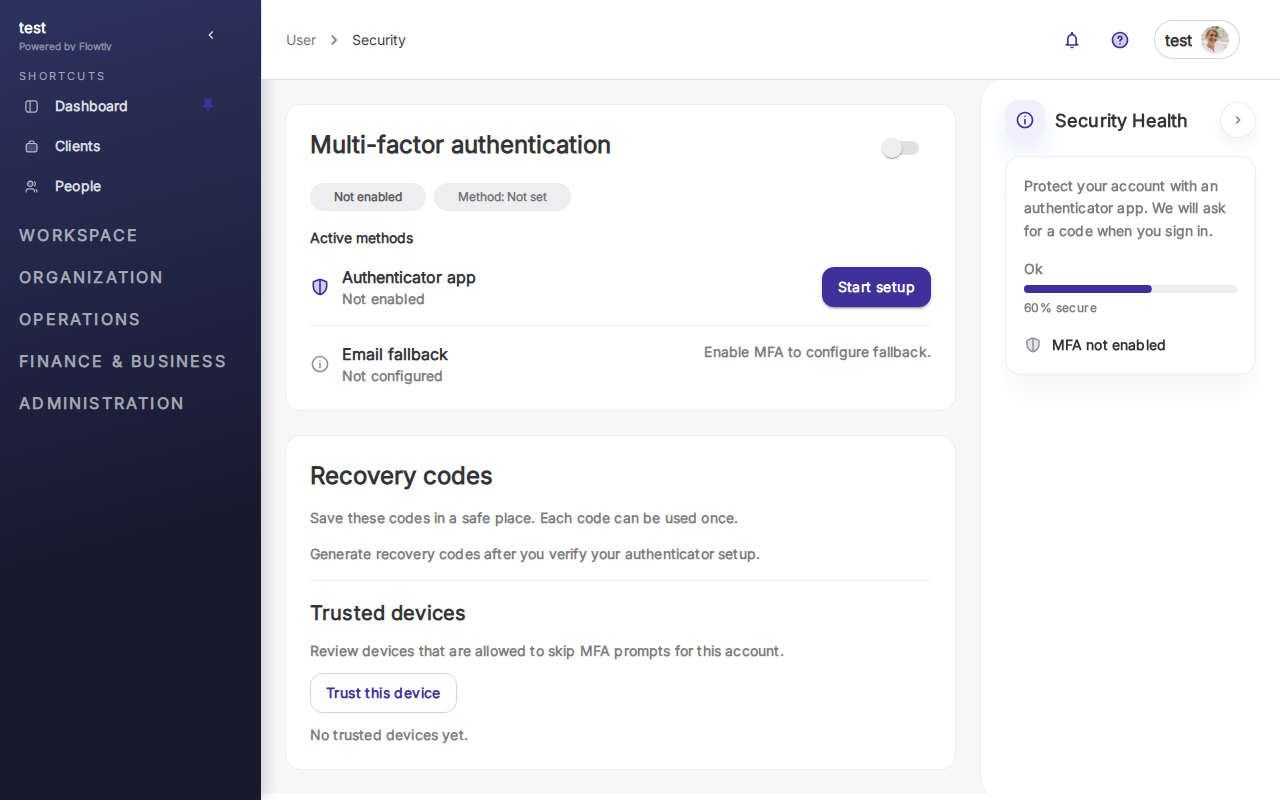
Step 2: Review the Multi-factor authentication page
You'll land on the Multi-factor authentication page. Here you can see:
- Authenticator app — the primary MFA method (this is what you'll set up)
- Email fallback — a backup in case you lose access to your authenticator
- Recovery codes — one-time codes you can use to log in if you lose your phone
- Trusted devices — devices that can skip MFA for a set period
The Security Health panel on the right shows your current protection level. Until you enable MFA, it will show "MFA not enabled".
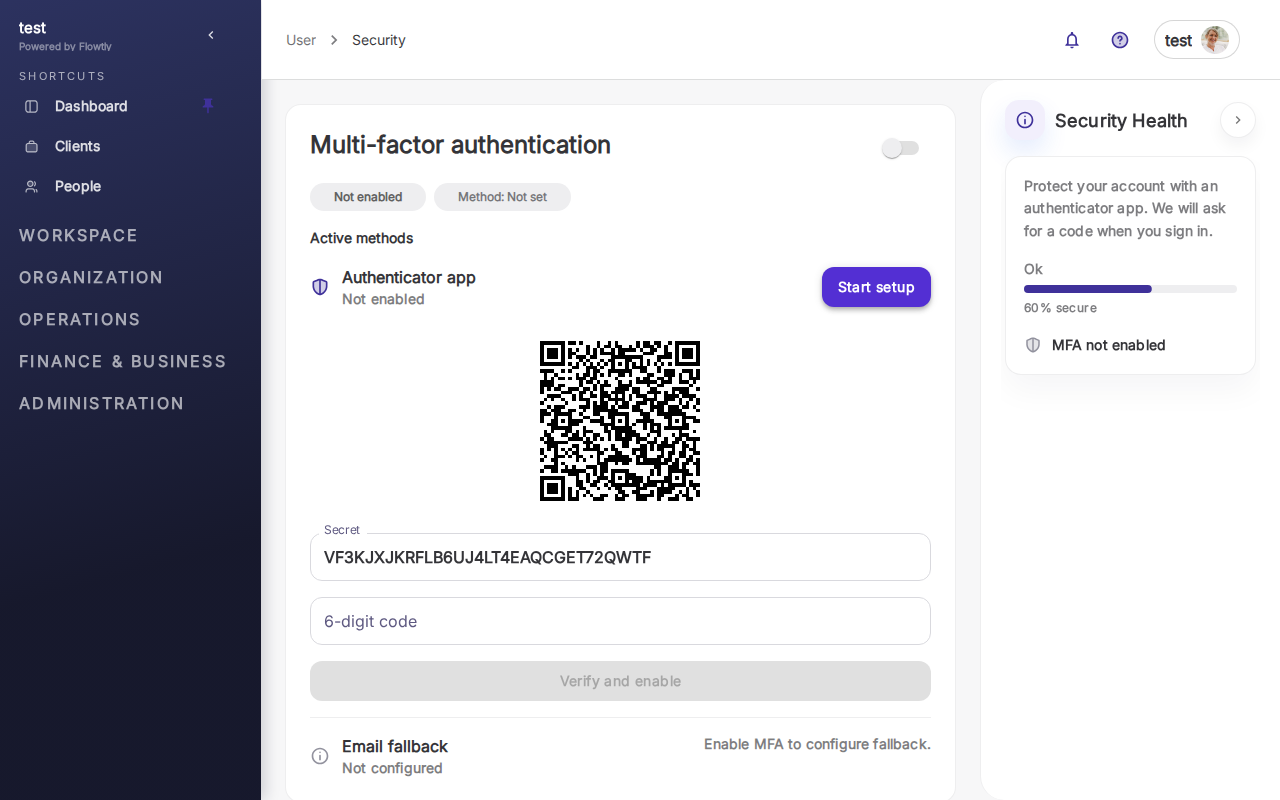
Step 3: Start setup and scan the QR code
Click Start setup next to the Authenticator app option. Flowtly will display a QR code along with a 16-character setup key.
On your phone, open a trusted authenticator app (Google Authenticator, Microsoft Authenticator, Authy, or 1Password) and add a new account by scanning this QR code. If you can't scan, tap "Enter setup key" in your authenticator app and type the key shown below the QR code.
Your authenticator app will start generating 6-digit codes that change every 30 seconds. Enter the current code in the 6-digit code field and click Verify and activate.
Tip: Save the setup key in your password manager too. If you ever lose your phone and your recovery codes, having the original key means you can set up a new authenticator without contacting support.
Step 4: Save recovery codes and manage trusted devices
After activating MFA, Flowtly shows you recovery codes — 10 single-use codes you can use to sign in if you lose access to your authenticator app. Each code is 8 alphanumeric characters. Download or print them and store them somewhere safe and offline.
Scroll down to the Trusted devices section. On your current device (if you're using a secure, personal computer), click Trust this device. Flowtly will remember this device for 30 days, so you won't be prompted for a code on every login — just your password.
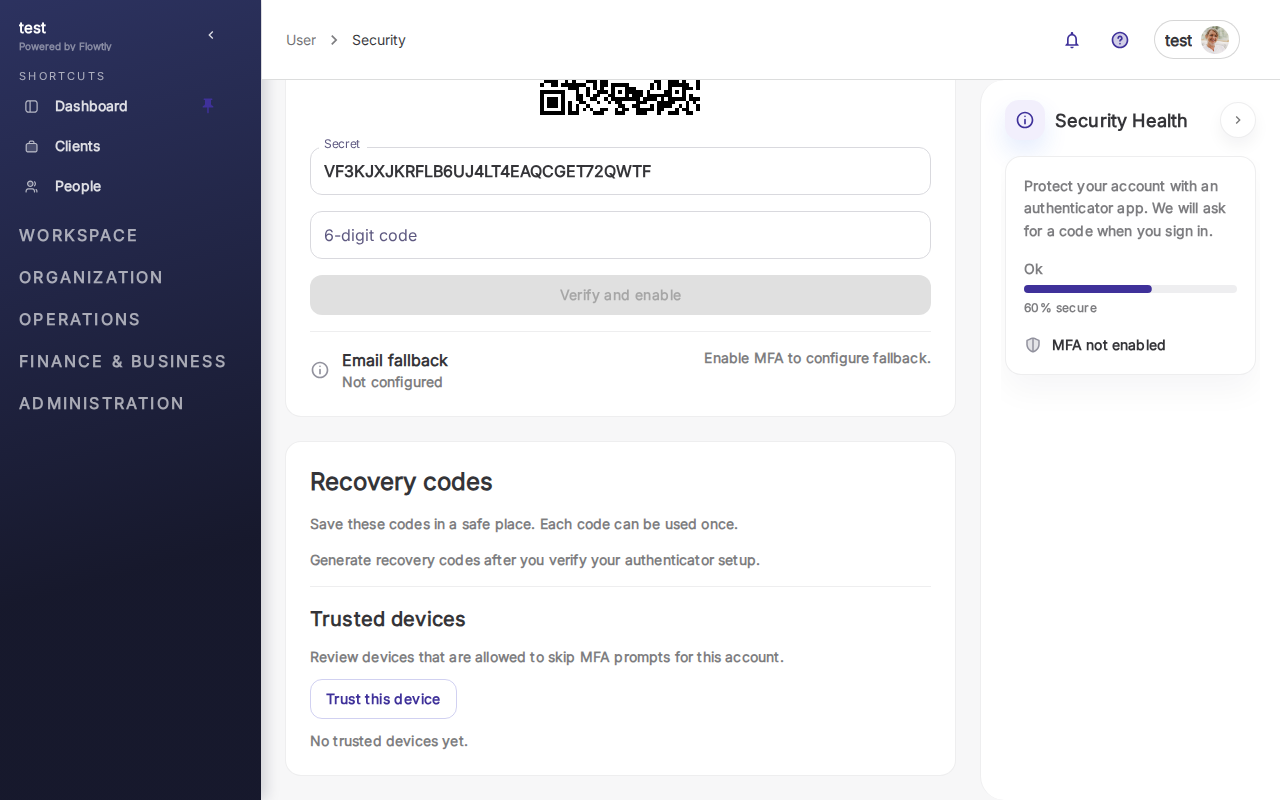
Important: Never mark a public computer, shared device, or anything you don't fully control as a trusted device. If you lose a trusted device, come back to this page and remove it from the list immediately.
You're finished
Your Flowtly account is now protected by MFA. Every login from a new device will require both your password and a code from your authenticator app. Trusted devices let you skip the second step for 30 days on computers you use regularly.