Multi-Factor Authentication (MFA) adds a crucial layer of security to your Flowtly account, protecting your valuable data from unauthorized access. This tutorial will guide you through the process of setting up MFA for your individual account and, for administrators, enforcing it across all user accounts in your organization. By the end, your Flowtly environment will be significantly more secure, providing peace of mind.
What is Multi-Factor Authentication (MFA)?
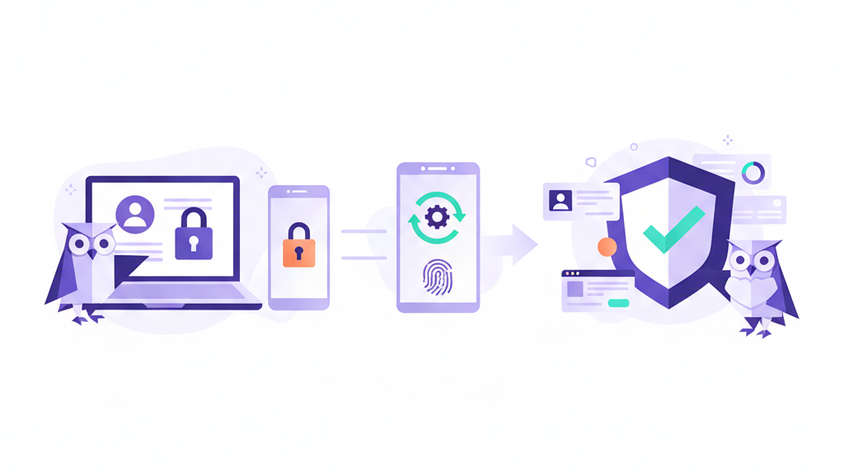
Multi-Factor Authentication (MFA) is a security measure that requires users to provide two or more verification factors to gain access to an application or online account. Instead of just a password (something you know), MFA typically adds a second factor, such as a code from a mobile authenticator app (something you have).
For Flowtly, implementing MFA means that even if your password is compromised, an attacker would still need access to your secondary verification method (e.g., your phone) to log in. This dramatically reduces the risk of account takeover and enhances the overall security posture of your business data. Given the sensitive nature of information often managed within Flowtly – from employee data and project details to financial records – MFA is not just a recommendation, it's a critical security safeguard.
Step-by-Step Guide to Setting Up MFA
This section covers how to enable MFA for your own user account. Administrators will find additional steps on enforcing MFA across the organization further down.
1. Access Your Security Settings
To begin, you need to navigate to your personal security settings within Flowtly.
- Log in to your Flowtly account.
- In the top right corner, click on your Profile Picture or User Name to open the dropdown menu.
- Select Settings or My Profile.
- Within the settings menu, look for a tab or section labeled Security. Click on it.
Tip: The exact navigation might vary slightly depending on your Flowtly role or recent UI updates. If you can't find it directly, try looking under a general "Account" or "Profile" section first.
2. Initiate MFA Setup
Once in the Security settings, you'll find the option to enable MFA.
- Locate the Multi-Factor Authentication (MFA) section.
- Click the Enable MFA button or a similar prompt to start the setup process. Flowtly will guide you through a series of steps.
3. Configure Your Authenticator App
Most MFA setups on Flowtly utilize a time-based one-time password (TOTP) system, which works with popular authenticator apps on your smartphone.
- Flowtly will display a QR code and a setup key (also known as a secret key).
- Open your preferred authenticator app on your smartphone (e.g., Google Authenticator, Microsoft Authenticator, Authy, or any other compatible TOTP app).
- In your authenticator app, select the option to add a new account (usually represented by a "+" icon or a "Scan QR code" button).
- Scan the QR code displayed on your Flowtly screen using your phone's camera.
- If you are unable to scan the QR code, you can typically choose the option to manually enter the setup key. Type the provided setup key into your authenticator app.
- Once added, your authenticator app will generate a 6-digit verification code that refreshes every 30-60 seconds.
- Enter this 6-digit code from your authenticator app into the designated field on the Flowtly MFA setup screen.
- Click Verify or Complete Setup.
Important: Ensure your phone's time is synchronized automatically. Incorrect time settings can cause the authenticator codes to be invalid.
4. Save Your Recovery Codes
After successful configuration, Flowtly will present you with a list of recovery codes. These codes are vital for regaining access to your account if you lose access to your authenticator device (e.g., your phone is lost, stolen, or damaged).
- Carefully read the instructions provided by Flowtly regarding recovery codes.
- Download, print, or securely save these codes. It is highly recommended to store them in a secure, offline location, separate from your primary devices (e.g., a physical safe, a secure password manager that's not tied solely to your Flowtly login).
- Do NOT store these codes on your computer or phone in an easily accessible format. Each code can only be used once.
Security Tip: Treat recovery codes with the same level of security as your password. Anyone with your recovery codes and password can access your Flowtly account.
5. Test Your MFA Setup
To ensure MFA is working correctly, it's a good practice to test it immediately.
- Log out of your Flowtly account.
- Attempt to log back in using your username and password.
- After entering your credentials, Flowtly should now prompt you for a verification code from your authenticator app.
- Open your authenticator app, retrieve the current 6-digit code for Flowtly, and enter it into the login screen.
- If successful, you will be granted access to your Flowtly account, confirming that MFA is active.
For Administrators: Enforcing MFA for All Users
If you are an administrator, you have the power to enforce MFA across your entire Flowtly organization, significantly boosting collective security.
1. Access Admin Security Settings
- Log in to your Flowtly administrator account.
- Navigate to Admin Settings (usually found in the main navigation or by clicking your profile picture).
- Look for a section related to Security, User Management, or Organization Settings.
2. Enable Global MFA Enforcement
- Within the Admin Security settings, locate the MFA Enforcement Policy section.
- You will likely find options such as "Require MFA for all users," "MFA enforcement deadline," or "Exclude specific users from MFA."
- Activate the policy to require MFA for all users.
- If there's an option, consider setting a reasonable deadline for users to enable MFA. Flowtly might automatically notify users of this requirement.
- Save your changes.
What happens next? Once enforced, users who have not yet set up MFA will be prompted to do so the next time they log in. They typically won't be able to proceed beyond the login screen until they complete their MFA setup.
3. Monitor MFA Status and User Compliance
As an administrator, you can monitor which users have enabled MFA and track overall compliance.
- Navigate to the Employees or User Management section in Admin Settings.
- You should see a column or indicator next to each user's name showing their MFA status (e.g., "Enabled," "Disabled," "Pending Setup").
- Utilize the System Logs & Audit Trail to monitor security events related to MFA, such as MFA setup completions, MFA failures, or administrative overrides. This provides a comprehensive overview of security activities.
Tip: Proactively communicate the importance of MFA to your team. Provide internal guidelines or a link to this tutorial to help them set it up quickly. Emphasize the security benefits for both the company and their personal data.
4. Handling MFA Resets for Users
In scenarios where a user loses their authenticator device and their recovery codes, an administrator might need to assist.
- Go to the Employees or User Management section.
- Locate the specific user's account.
- There should be an option to Reset MFA or Disable MFA for that user. Be cautious and verify the user's identity before performing this action.
- Once reset, the user will be prompted to set up MFA again on their next login, following the steps outlined above.
Best Practice: Implement clear internal policies for MFA resets. This ensures proper verification procedures are followed, preventing unauthorized MFA bypasses.
Summary
You've now successfully learned how to strengthen your Flowtly account with Multi-Factor Authentication. By enabling MFA, you've added a critical layer of defense, significantly reducing the risk of unauthorized access to your valuable Flowtly data. Administrators also have the tools to enforce this security measure across their entire organization, fostering a more secure digital environment for everyone. Remember to securely store your recovery codes and encourage all team members to embrace this essential security practice.