Budgets in Flowtly let you group expected costs, track them against real transactions, and understand where money is going. This tutorial walks you through creating your first budget group, adding line items, and reconciling against bank transactions.
What you'll do
- Open the Budget section
- Create a budget group
- Review transactions and link them to your budget
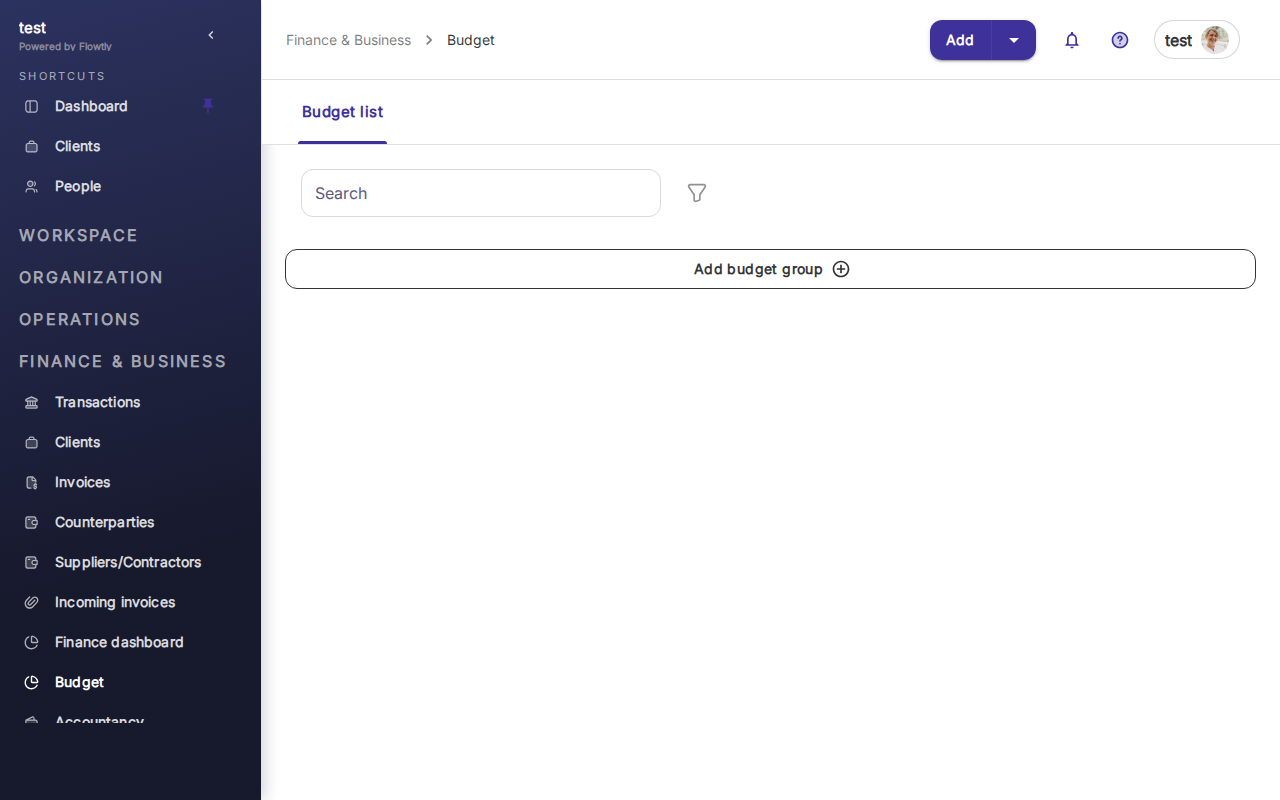
Step 1: Open the Budget section
From the sidebar, expand Finance & Business and click Budget. You'll see the Budget list page with search and filter controls at the top, and an Add budget group button.

If you haven't created any budgets yet, the list is empty. Budget groups are containers for related expense categories — for example, "Marketing Q2" or "Office expenses 2026".
Step 2: Create a budget group
Click Add budget group in the middle of the page. Flowtly opens a form where you can name the group and set its scope.
Give the group a clear name, choose the period, and save. The new group appears in your budget list. You can then add individual line items (categories) inside the group — each with a planned amount and an optional subcategory.
Tip: Start with 3–5 broad categories and refine later. Over-detailed budgets are hard to maintain; simple ones get used.
Step 3: Track spending via transactions
Go to Transactions in the Finance & Business section. This is where Flowtly consolidates all bank activity imported from your connected accounts.
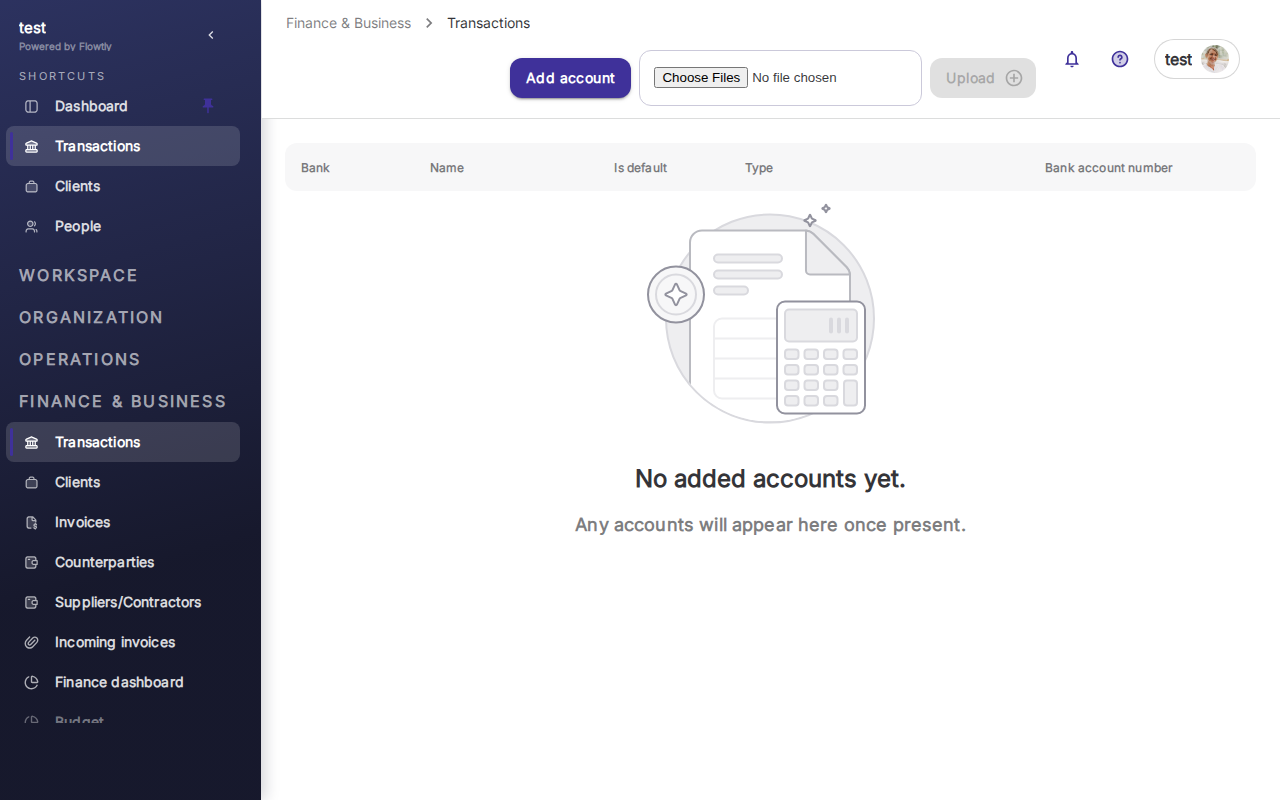
Click Add account in the top-right to connect a bank feed, or import transactions manually. Once transactions are in Flowtly, you can assign each one to a budget line item. The assigned amounts roll up into your budget group, giving you a live view of planned vs. actual spending.
Important: Reconcile transactions regularly — weekly is a good cadence. Budgets only provide value when the data underneath them is current.
You're finished
You now have a budget group with line items, and you know how to link bank transactions so spending is tracked automatically. From here, you can add more groups for different departments or projects, and use the budget dashboard to compare planned vs. actual across the whole organization.