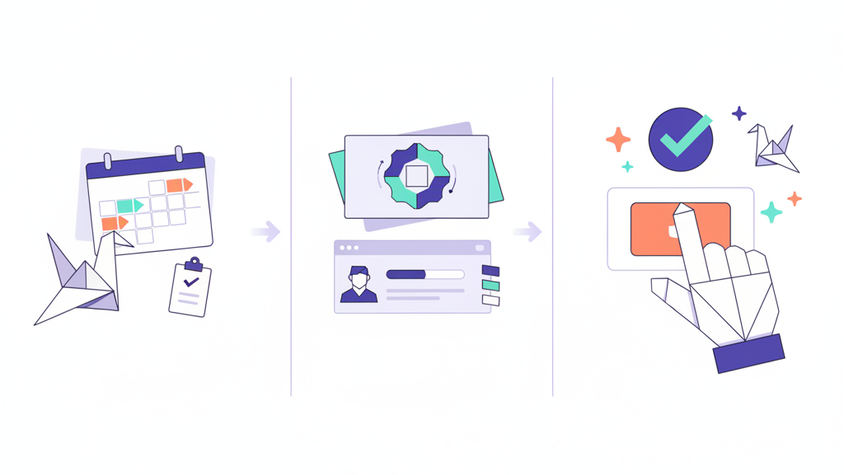
This tutorial will guide you through the essential steps to master leave management within Flowtly. You'll learn how to set up various holiday types, configure important bank holidays, and efficiently manage the entire employee leave request process, from submission to final approval. By the end, you'll have a clear understanding of how to streamline your organization's holiday management.
1. Understanding Holiday Types in Flowtly
Flowtly allows you to define different categories of leave, ensuring clarity and proper tracking for your organization. This distinction helps in managing entitlements, reporting, and adherence to company policies or local regulations.
1.1 Accessing Holiday Settings
To begin configuring your holiday types, you'll need to navigate to the administrative settings for holidays.
- Log in to Flowtly with your admin or HR management credentials.
- From the main dashboard, locate and click on the "Settings" icon, usually represented by a gear or cogwheel, in the navigation menu.
- Within the settings menu, find and select "Holidays" or "Leave Management". This will take you to the central hub for all holiday-related configurations.
1.2 Creating and Customizing Holiday Types
Here, you can define the various types of leave your employees can request. Common examples include Annual Leave, Sick Leave, Parental Leave, or Unpaid Leave.
- On the "Holidays" settings page, look for an option like "Manage Holiday Types" or "Add New Leave Type".
- Click on this option to open a form or dialog box.
- Enter a Name for your holiday type (e.g., "Annual Leave," "Maternity Leave," "Bereavement Leave").
- Provide a Description (optional but recommended) to clarify the purpose and any specific conditions associated with this leave type.
- Configure Entitlement Rules (if applicable):
- Accrual: If this leave type accrues over time (e.g., employees earn X days per month), specify the accrual rate and frequency.
- Max Entitlement: Set a maximum number of days an employee can accumulate for this leave type per year or period.
- Carry-over Rules: Define if and how many days can be carried over to the next leave year.
- Deduction from Entitlement: Indicate if requesting this holiday type will deduct from an employee's total annual leave entitlement. For instance, "Annual Leave" would deduct, while "Bank Holiday" (which we'll cover next) or "Sick Leave" might not.
- Set Approval Requirements: You might have different approval workflows for different leave types. For example, annual leave might require manager approval, while sick leave might just need notification and a doctor's note for extended periods.
- Choose Visibility: Decide if this holiday type is visible to all employees or only specific groups/departments.
- Save your changes.
Tip: Clearly label your holiday types and add comprehensive descriptions. This helps employees understand which type of leave to request and assists managers in approving requests correctly. Regularly review and update these types to reflect any changes in company policy or legal requirements.
2. Establishing Bank Holidays (Public Holidays)
Bank holidays are public holidays recognized by your country or region where most employees are not expected to work. Properly setting these up ensures they are automatically accounted for in leave planning and do not deduct from employee entitlements.
2.1 Adding and Managing Bank Holidays
- Return to the "Holidays" settings page.
- Look for a section titled "Bank Holidays," "Public Holidays," or similar.
- Click on "Add Bank Holiday" or "New Public Holiday."
- Enter the Name of the bank holiday (e.g., "Christmas Day," "New Year's Day").
- Specify the Date: Select the exact date for the bank holiday using the date picker.
- Set Recurrence: Many bank holidays occur on the same date annually. Flowtly may offer an option to set the holiday as "Recurring Annually" to automatically apply it for future years, saving you manual effort. If a bank holiday shifts annually (e.g., Easter Monday), you might need to add it manually each year or use a specific setting if available.
- Assign to Locations/Departments (if applicable): If your organization operates in multiple regions with different bank holidays, ensure you can assign bank holidays to specific offices or teams.
- Save your changes.
Note: Bank holidays typically do not deduct from an employee's annual leave entitlement. Ensure this setting is correctly configured for each bank holiday to prevent discrepancies. It's good practice to review and update your list of bank holidays at the start of each year, especially for countries where they can vary.
3. Managing Employee Leave Requests: From Submission to Approval
Efficiently managing employee leave requests is crucial for operational continuity and employee satisfaction. Flowtly provides a streamlined process for both employees to submit requests and managers to approve them.
3.1 Employee Leave Submission Process
Employees can easily submit holiday requests directly through their Flowtly portal.
- Log in to Flowtly as an employee.
- Navigate to your personal dashboard or the "Holidays" / "Leave" section. This is usually accessible from the main navigation menu.
- Look for an option like "Request Time Off," "New Holiday Request," or "Submit Leave Request."
- Select the Type of Leave: From the dropdown menu, choose the appropriate holiday type you defined earlier (e.g., Annual Leave, Sick Leave).
- Choose Start and End Dates: Use the calendar interface to select the desired start and end dates for your leave. Flowtly will typically calculate the total number of days automatically, excluding weekends and previously configured bank holidays.
- Add Optional Notes: Provide any relevant information for your manager, such as the reason for leave, emergency contact details, or information about tasks being covered.
- Check Entitlement Balance: Flowtly often displays your remaining leave balance for the selected leave type, allowing you to see if you have sufficient entitlement for the request.
- Submit the Request: Click the "Submit" button.
Tip: Encourage employees to submit requests well in advance, especially for longer periods of leave. This gives managers ample time to review and plan coverage, minimizing disruptions to team projects.
3.2 Manager/Admin Approval Process
Once an employee submits a request, it enters an approval workflow. Managers or designated administrators are responsible for reviewing and acting upon these requests.
- Access Pending Requests:
- As a manager or administrator, log in to Flowtly.
- Navigate to the "Holidays," "Leave Management," or "Notifications" section.
- You will typically see a dedicated area for "Pending Leave Requests" or a notification indicating new requests requiring your attention.
- Review Request Details:
- Click on a pending request to view its details. This will include:
- Employee Name
- Leave Type
- Start and End Dates
- Total Days Requested
- Employee's Remaining Leave Balance
- Any Notes provided by the employee
- Check Team Calendar: Flowtly usually provides a team calendar view, allowing you to see if other team members are already on leave during the requested period. This helps prevent staffing shortages.
- Review Project Impact: Consider how the requested leave might affect ongoing projects or deadlines. If integrated, Flowtly might even highlight potential conflicts.
- Take Action: Approve, Reject, or Request More Information:
- Approve: If the request is acceptable, click "Approve." The employee will be notified, and their leave balance will be updated.
- Reject: If the request cannot be accommodated (e.g., due to staffing conflicts, insufficient entitlement), click "Reject." It's crucial to provide a clear and constructive reason for rejection in the comments section. The employee will be notified of the rejection.
- Request More Information: Some requests might require further clarification. You can often add a comment and send the request back to the employee for additional details before making a final decision.
- Add Comments (Optional but Recommended): Always use the comments field to add any relevant notes for your records or for the employee, especially if rejecting or partially approving a request.
- Finalize Decision: Once you've made your decision, ensure you've clicked the final "Approve" or "Reject" button to process the request.
Note: Flowtly's
Emails & Notificationssystem plays a vital role here. Both employees and managers receive automatic notifications at each stage of the request process (submission, approval, rejection), ensuring everyone is kept informed. All actions, including submissions, approvals, and rejections, are recorded in theSystem Logs & Audit Trail, providing a transparent and immutable record for compliance and internal review.
Summary
You've now successfully learned how to configure various holiday types, establish crucial bank holidays, and manage the entire lifecycle of employee leave requests within Flowtly. By leveraging these features, you can ensure fair and consistent leave management, maintain accurate records, and promote a well-rested and productive workforce.