Krok 1
Otwórz moduł Transakcji
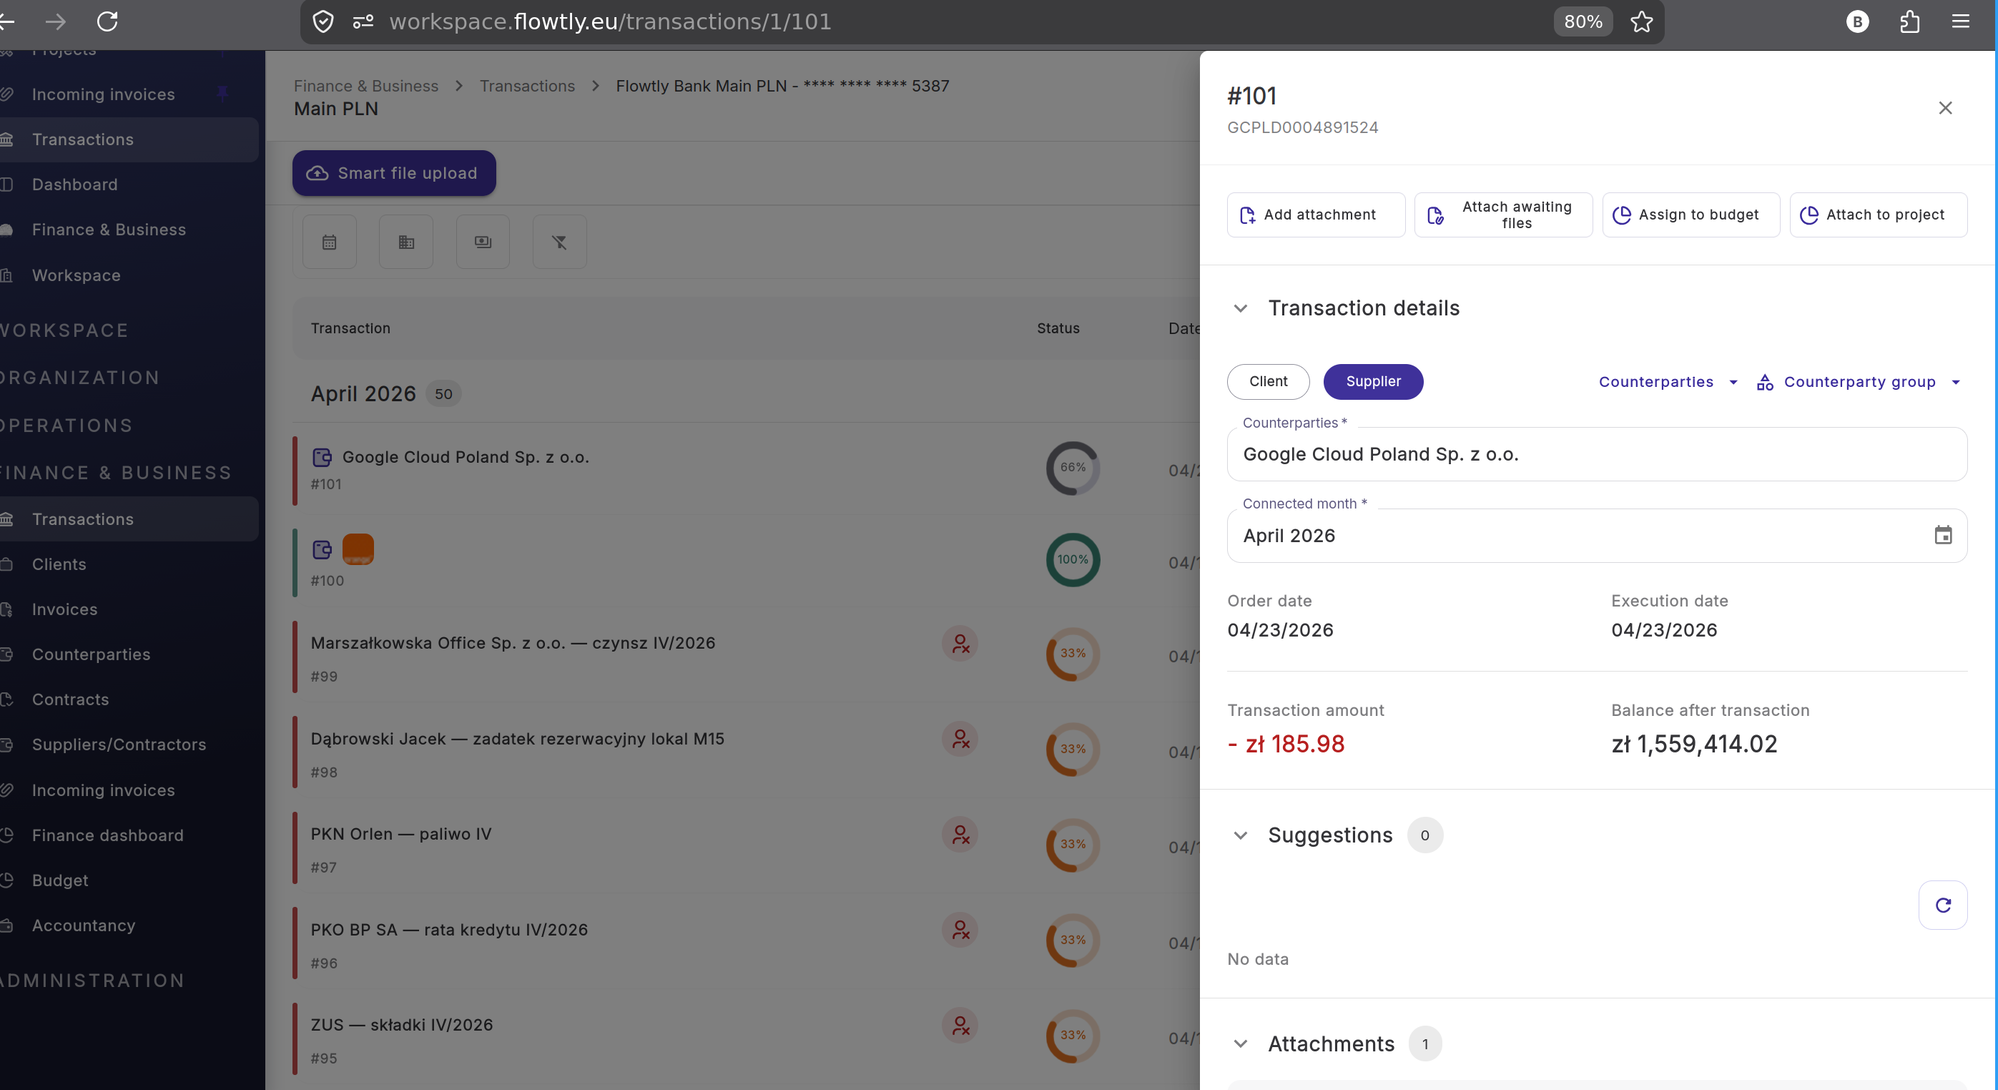
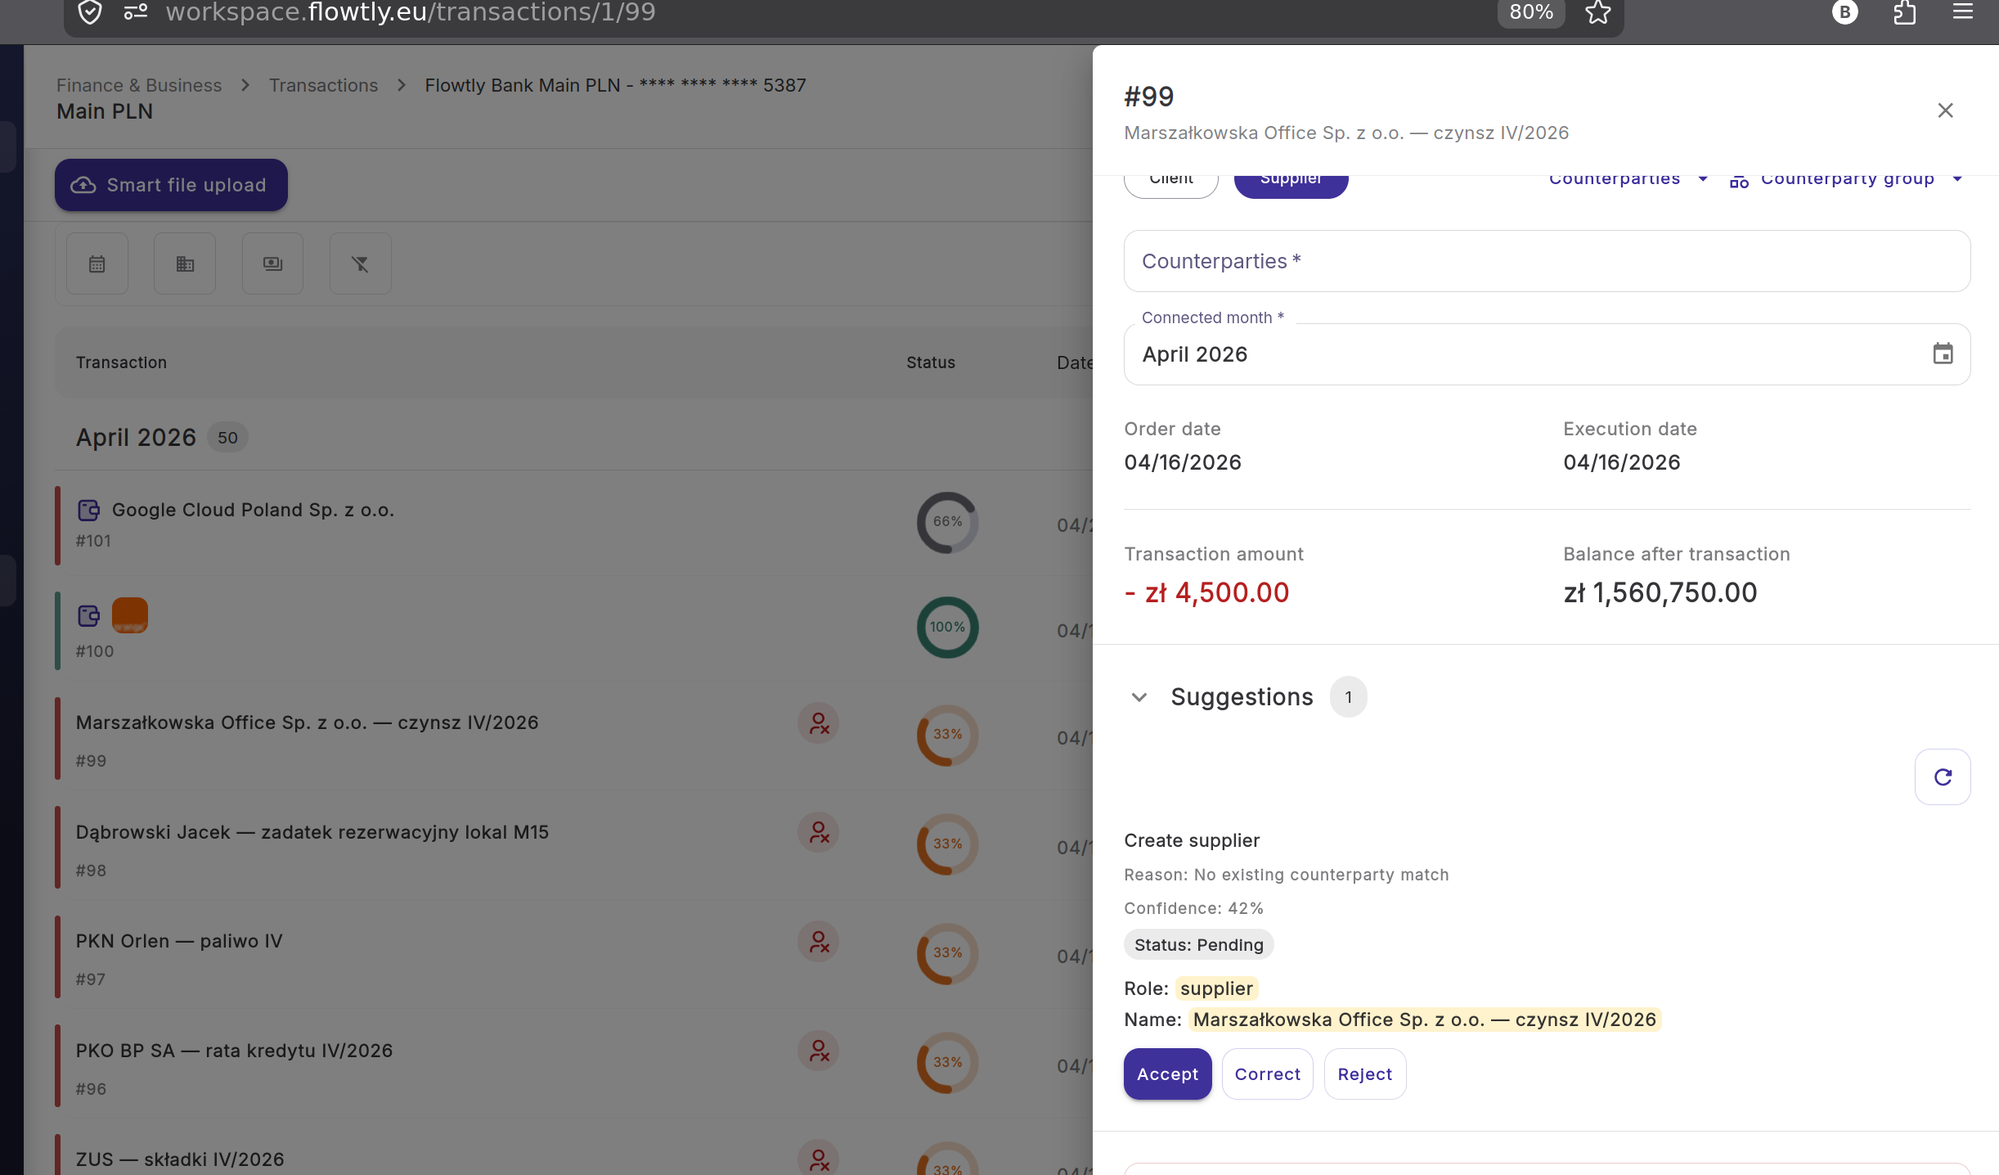
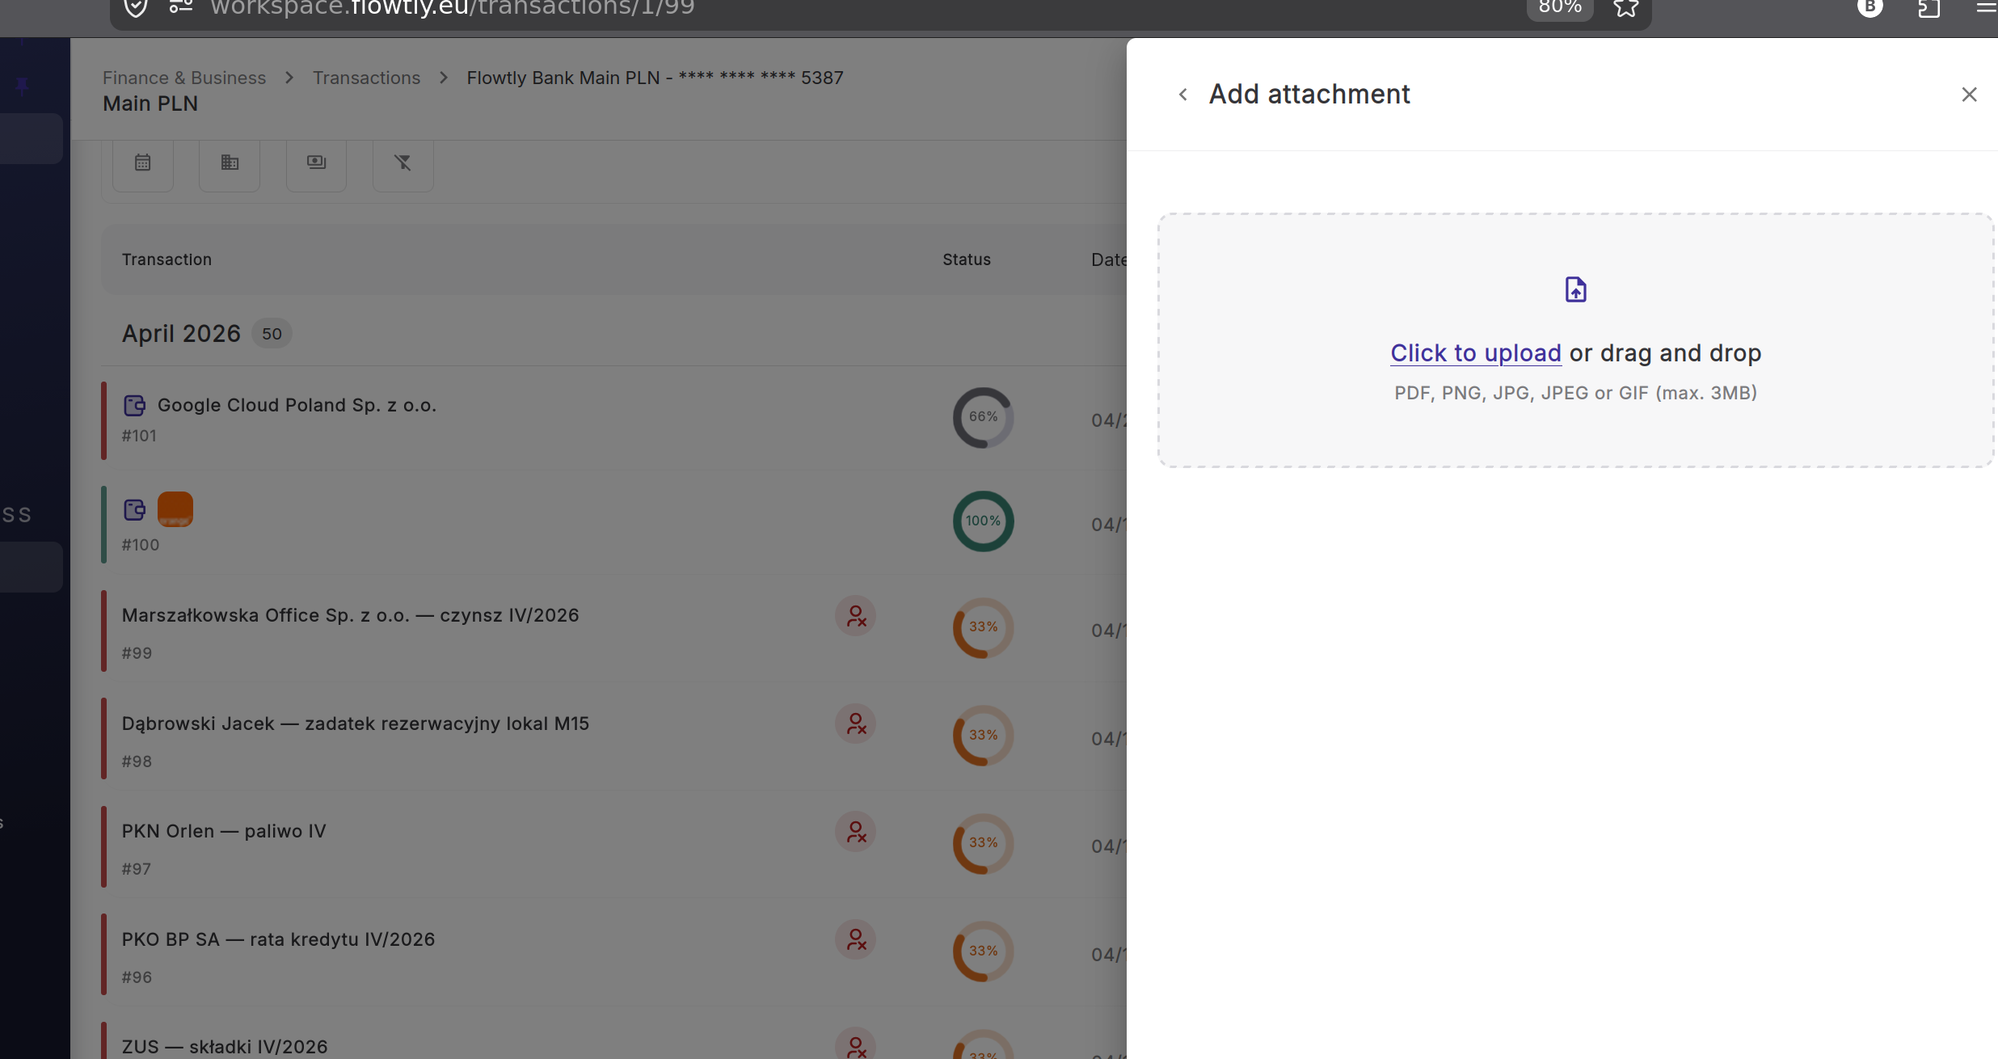
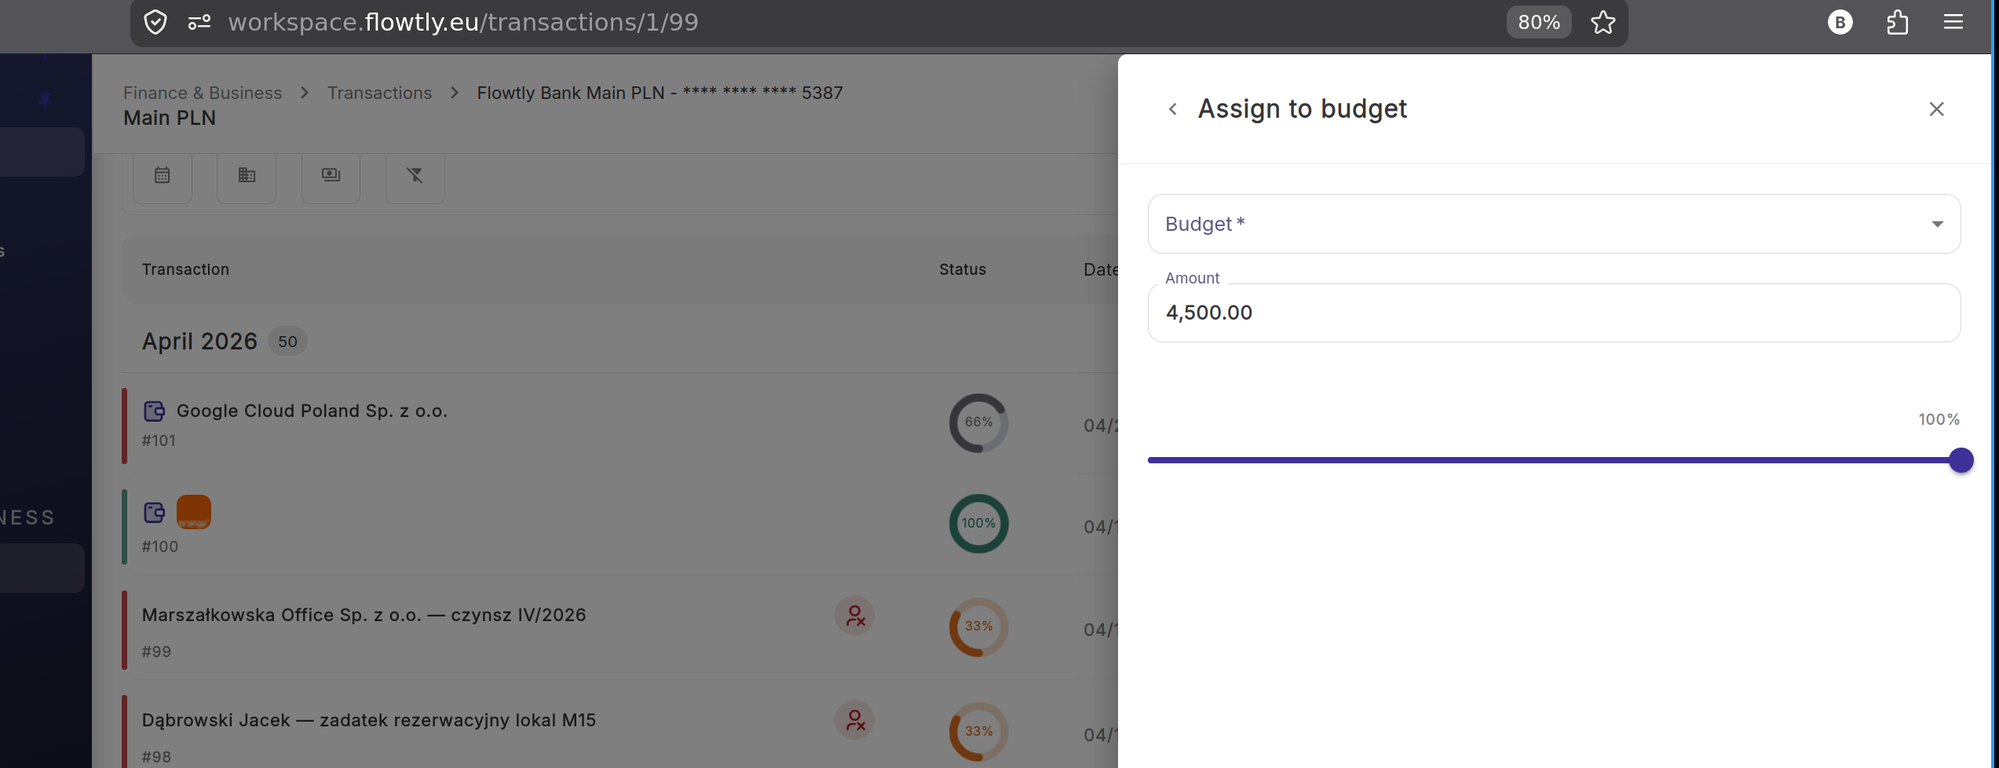
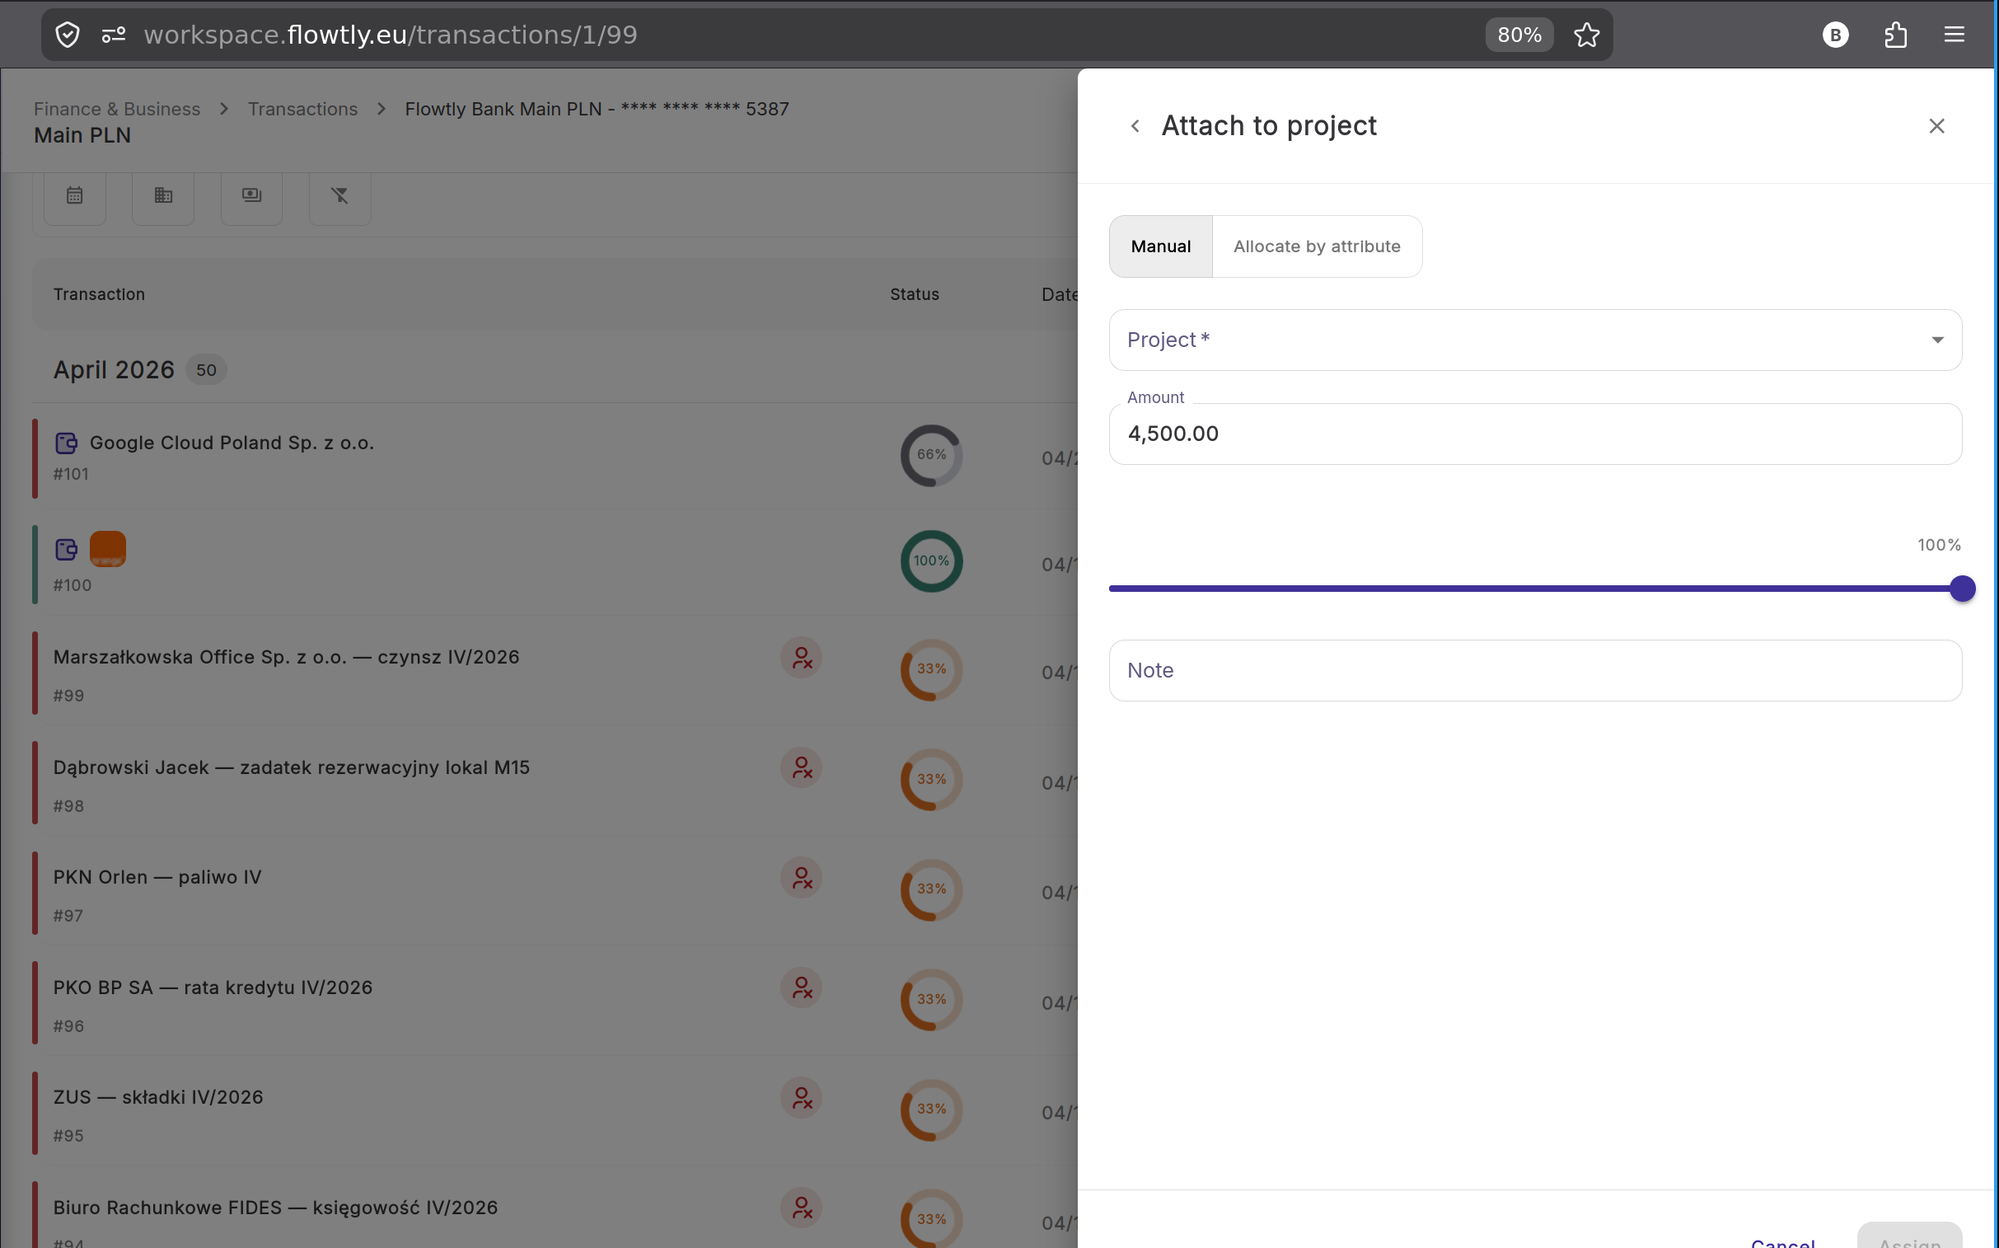
Przejdź do Finanse i Biznes → Transakcje. Lista grupuje aktywność bankową według miesięcy, z numerem transakcji i nazwą kontrahenta po lewej stronie. Kolumna Status pokazuje kolorowe kółko postępu dla każdego wpisu: jednolicie zielone (100%) oznacza, że wszystkie wymagane dane są na miejscu; częściowe kółka w kolorze pomarańczowym lub szarym wskazują brakujące pola.
Wskazówki
- Transakcje są grupowane według konta bankowego. Użyj nawigacji okruszkowej u góry, aby przełączać się między kontami, jeśli Twoja organizacja ma ich więcej niż jedno.