Крок 1
Відкрийте модуль транзакцій
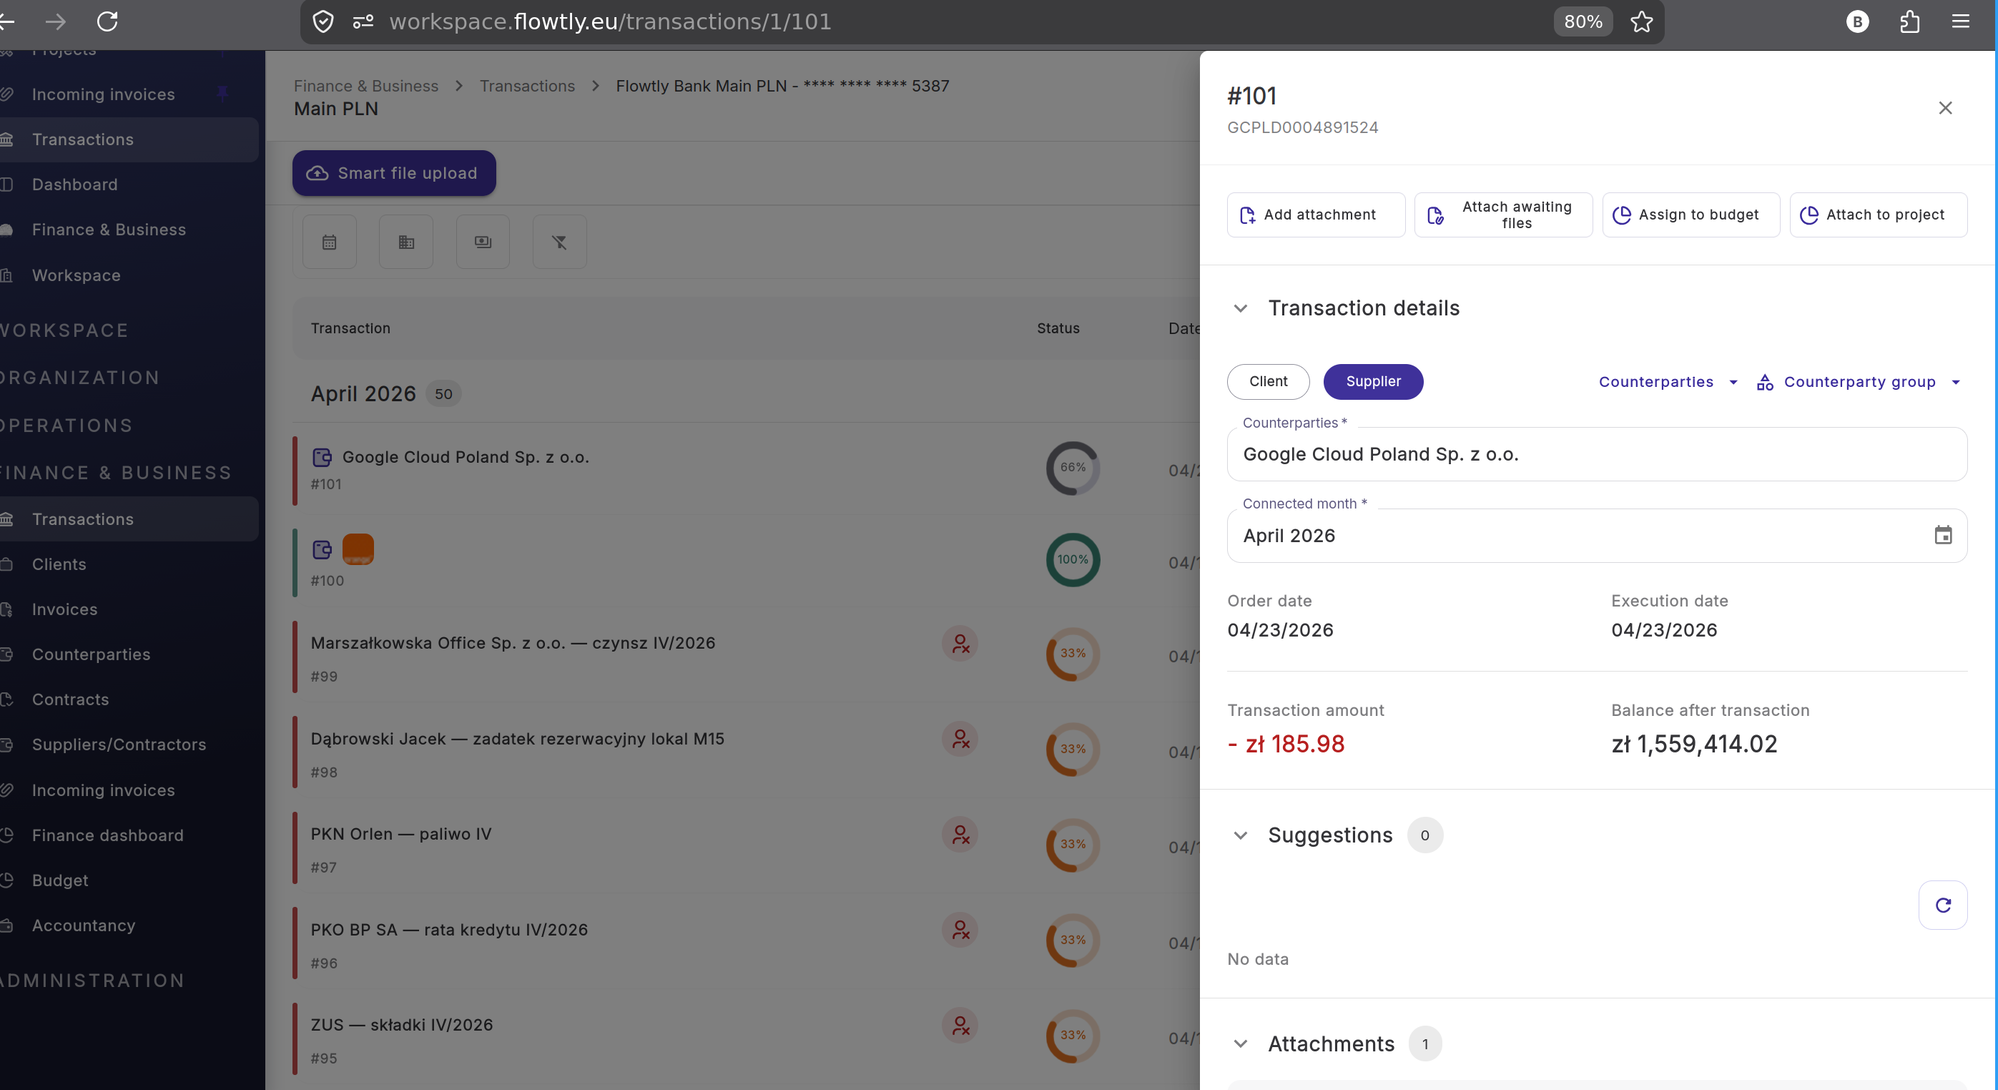
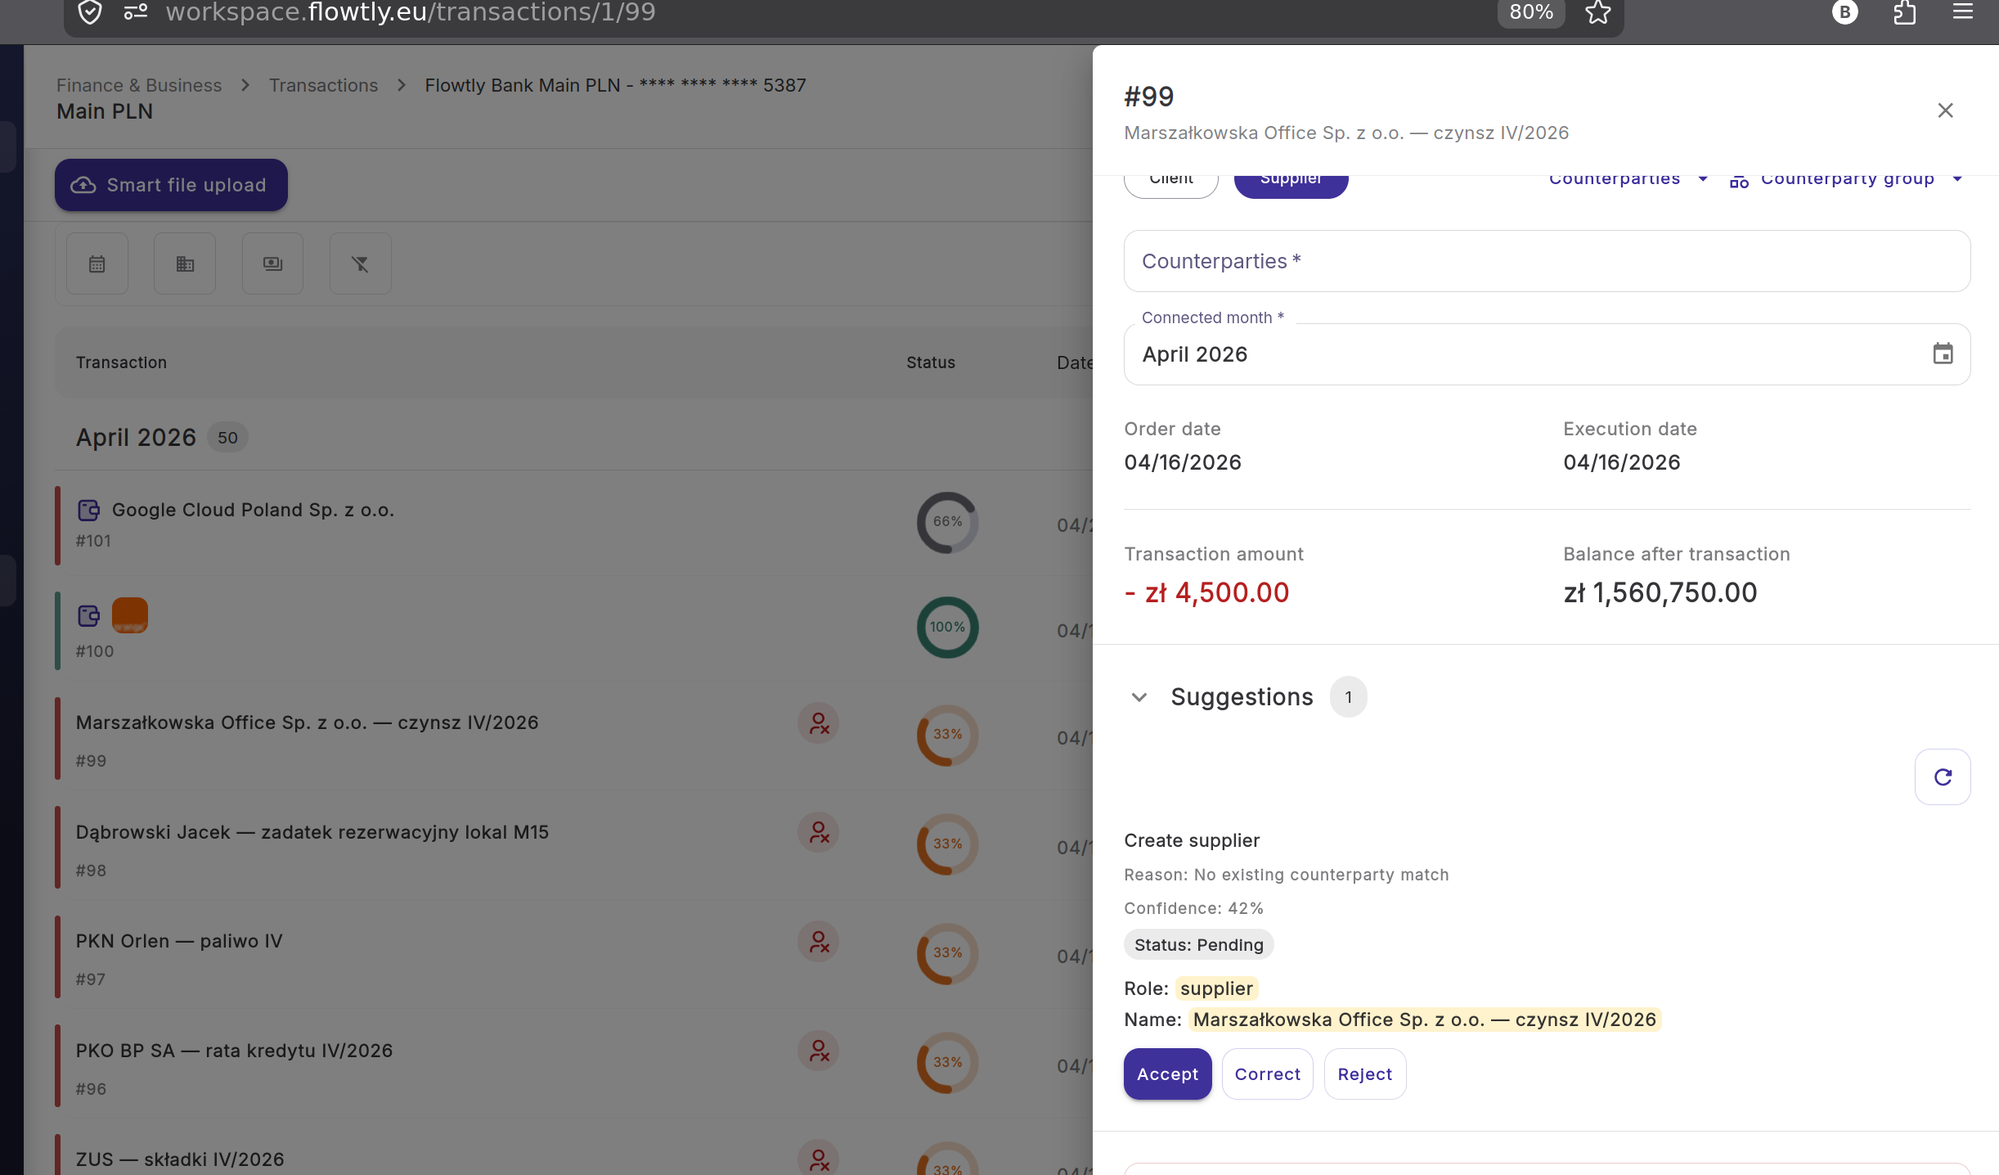
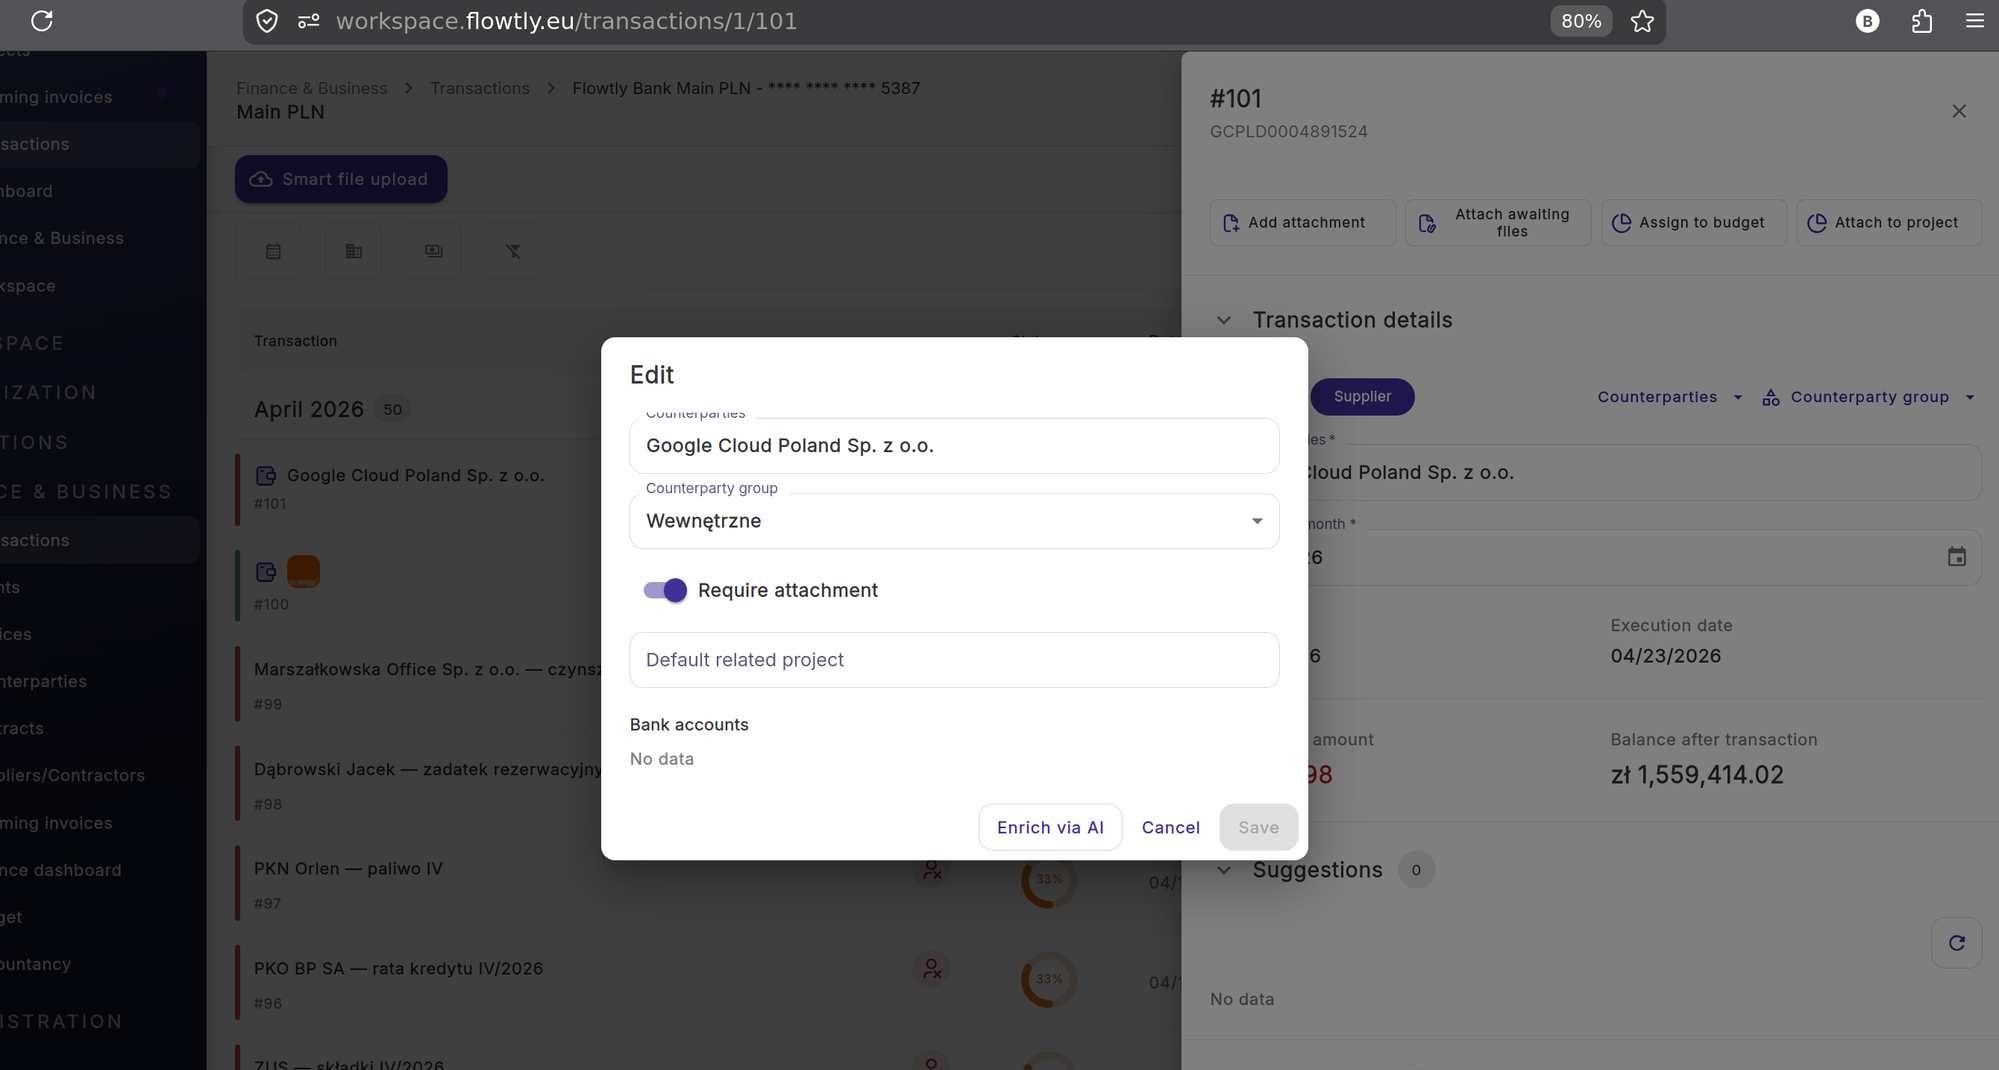
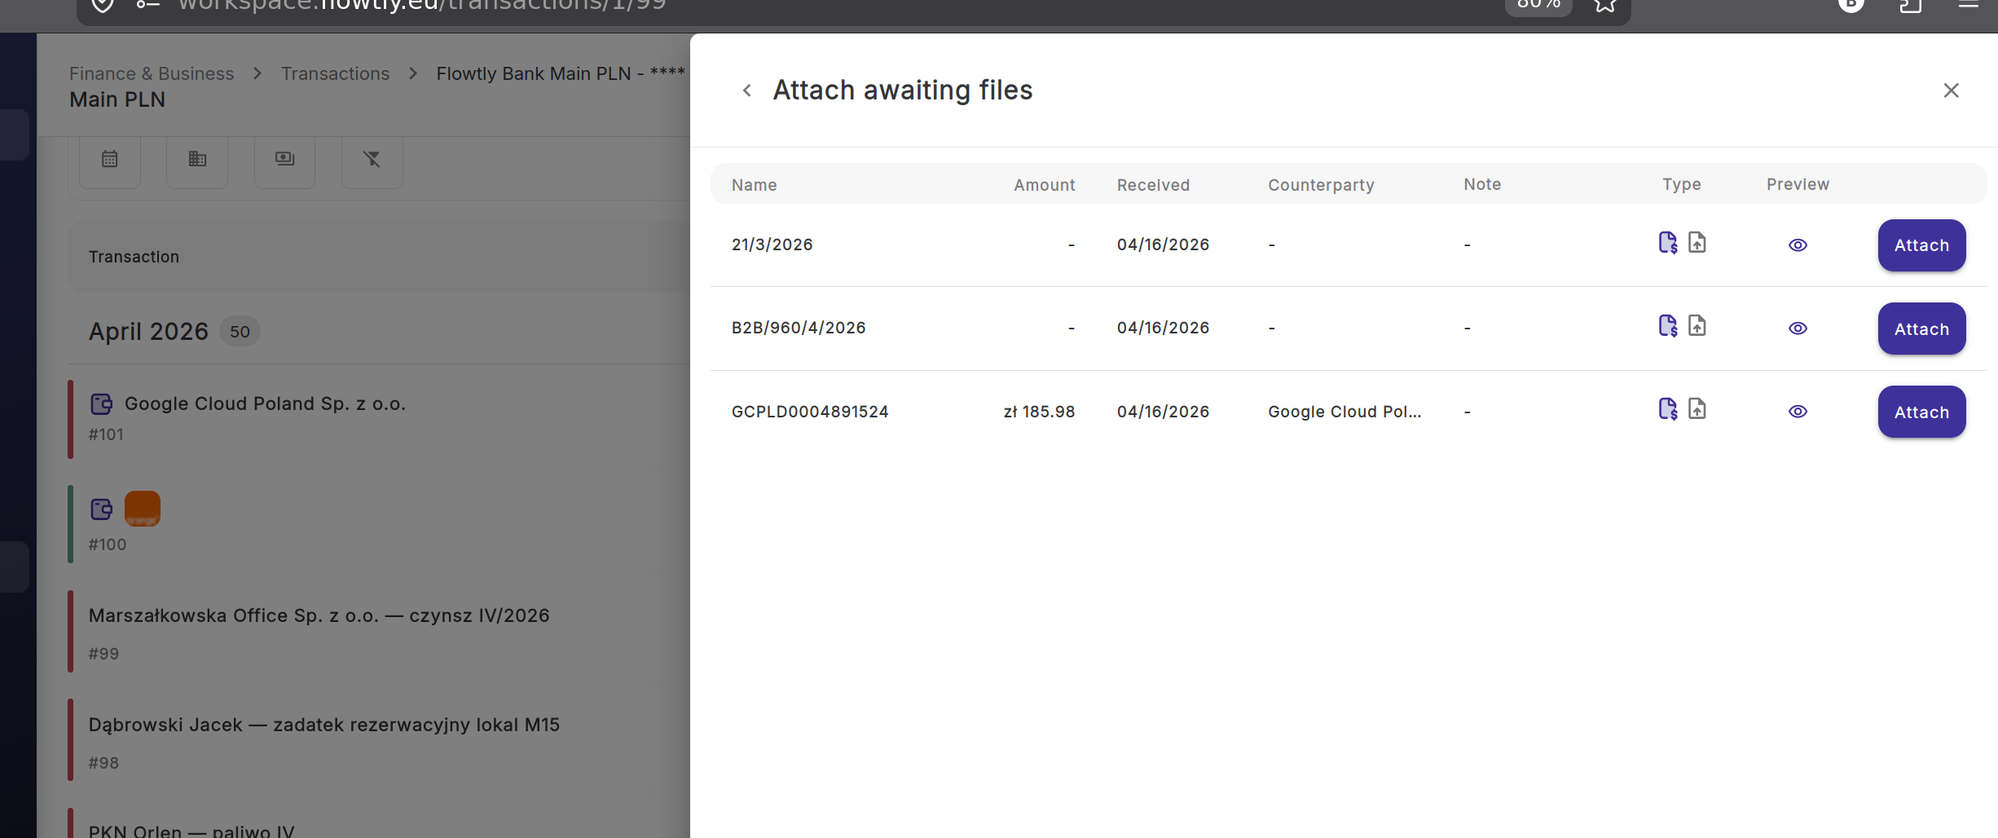
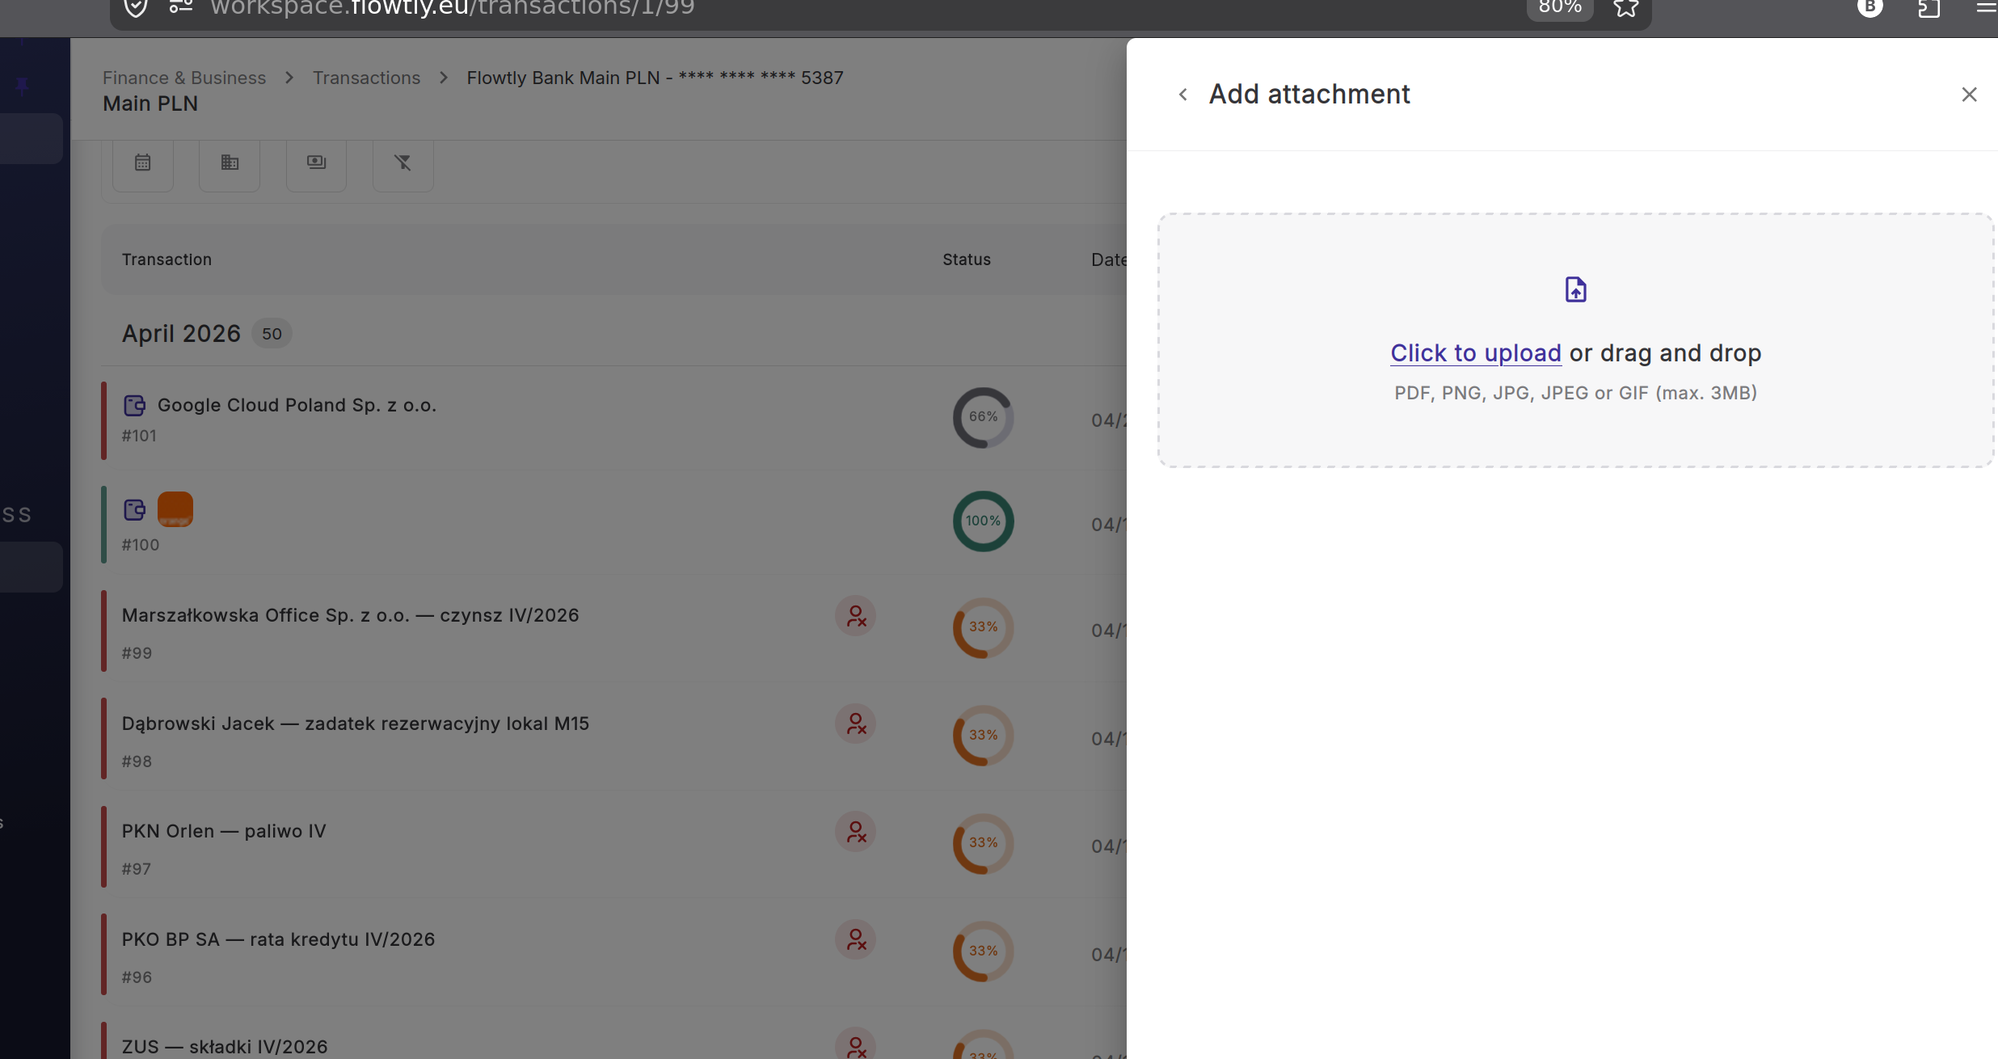
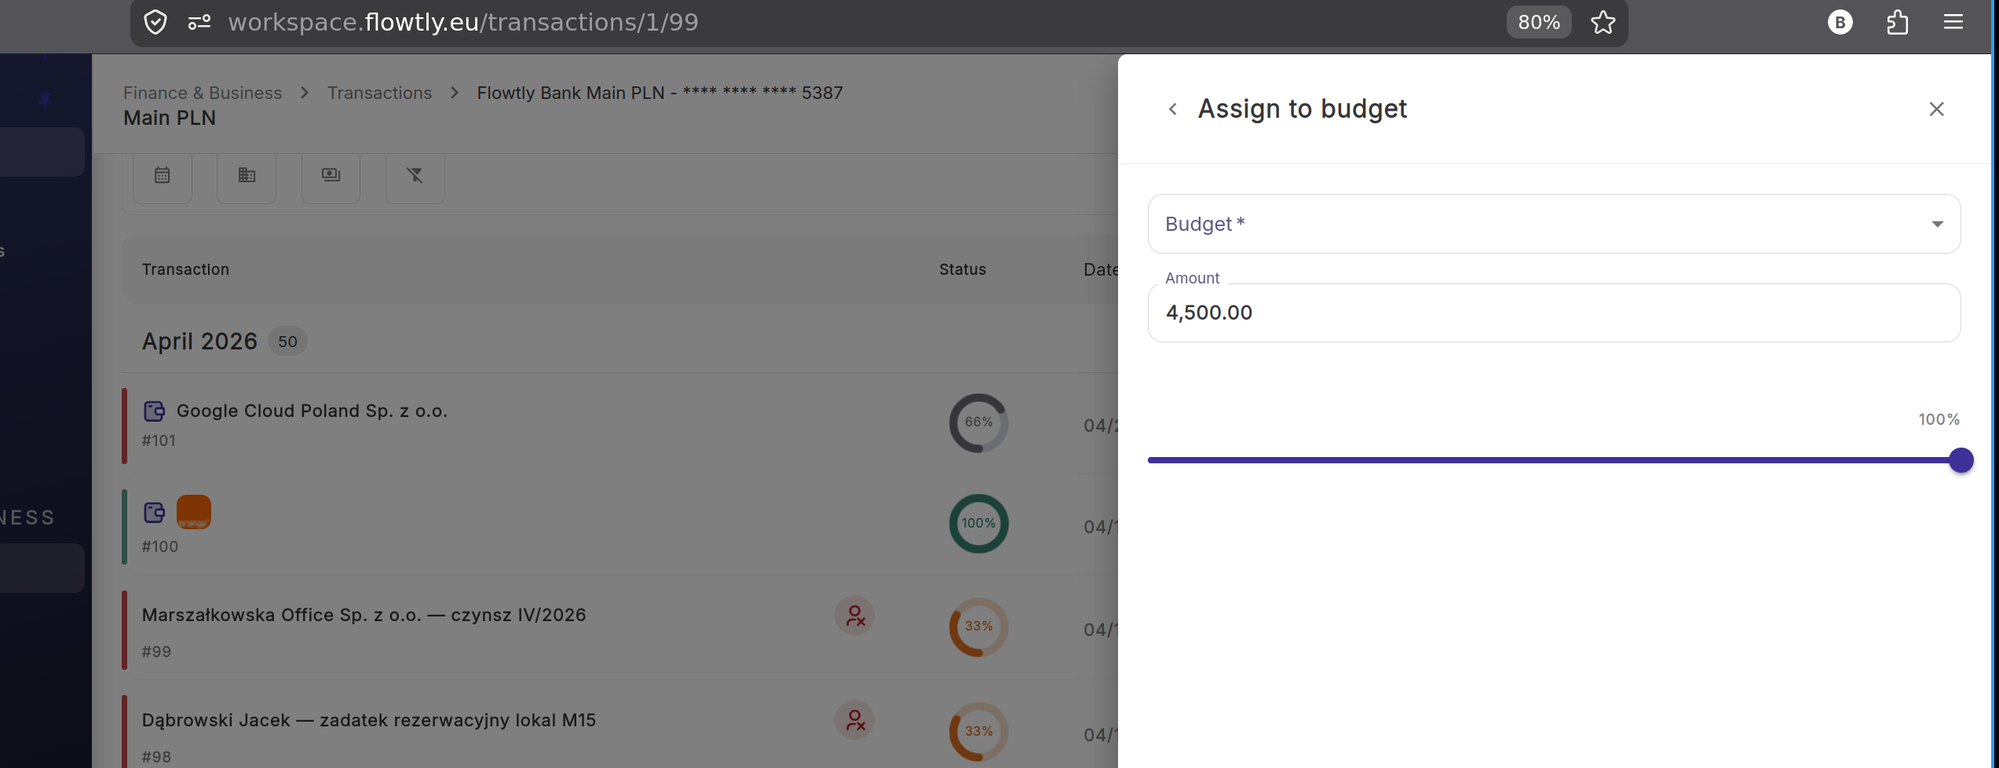
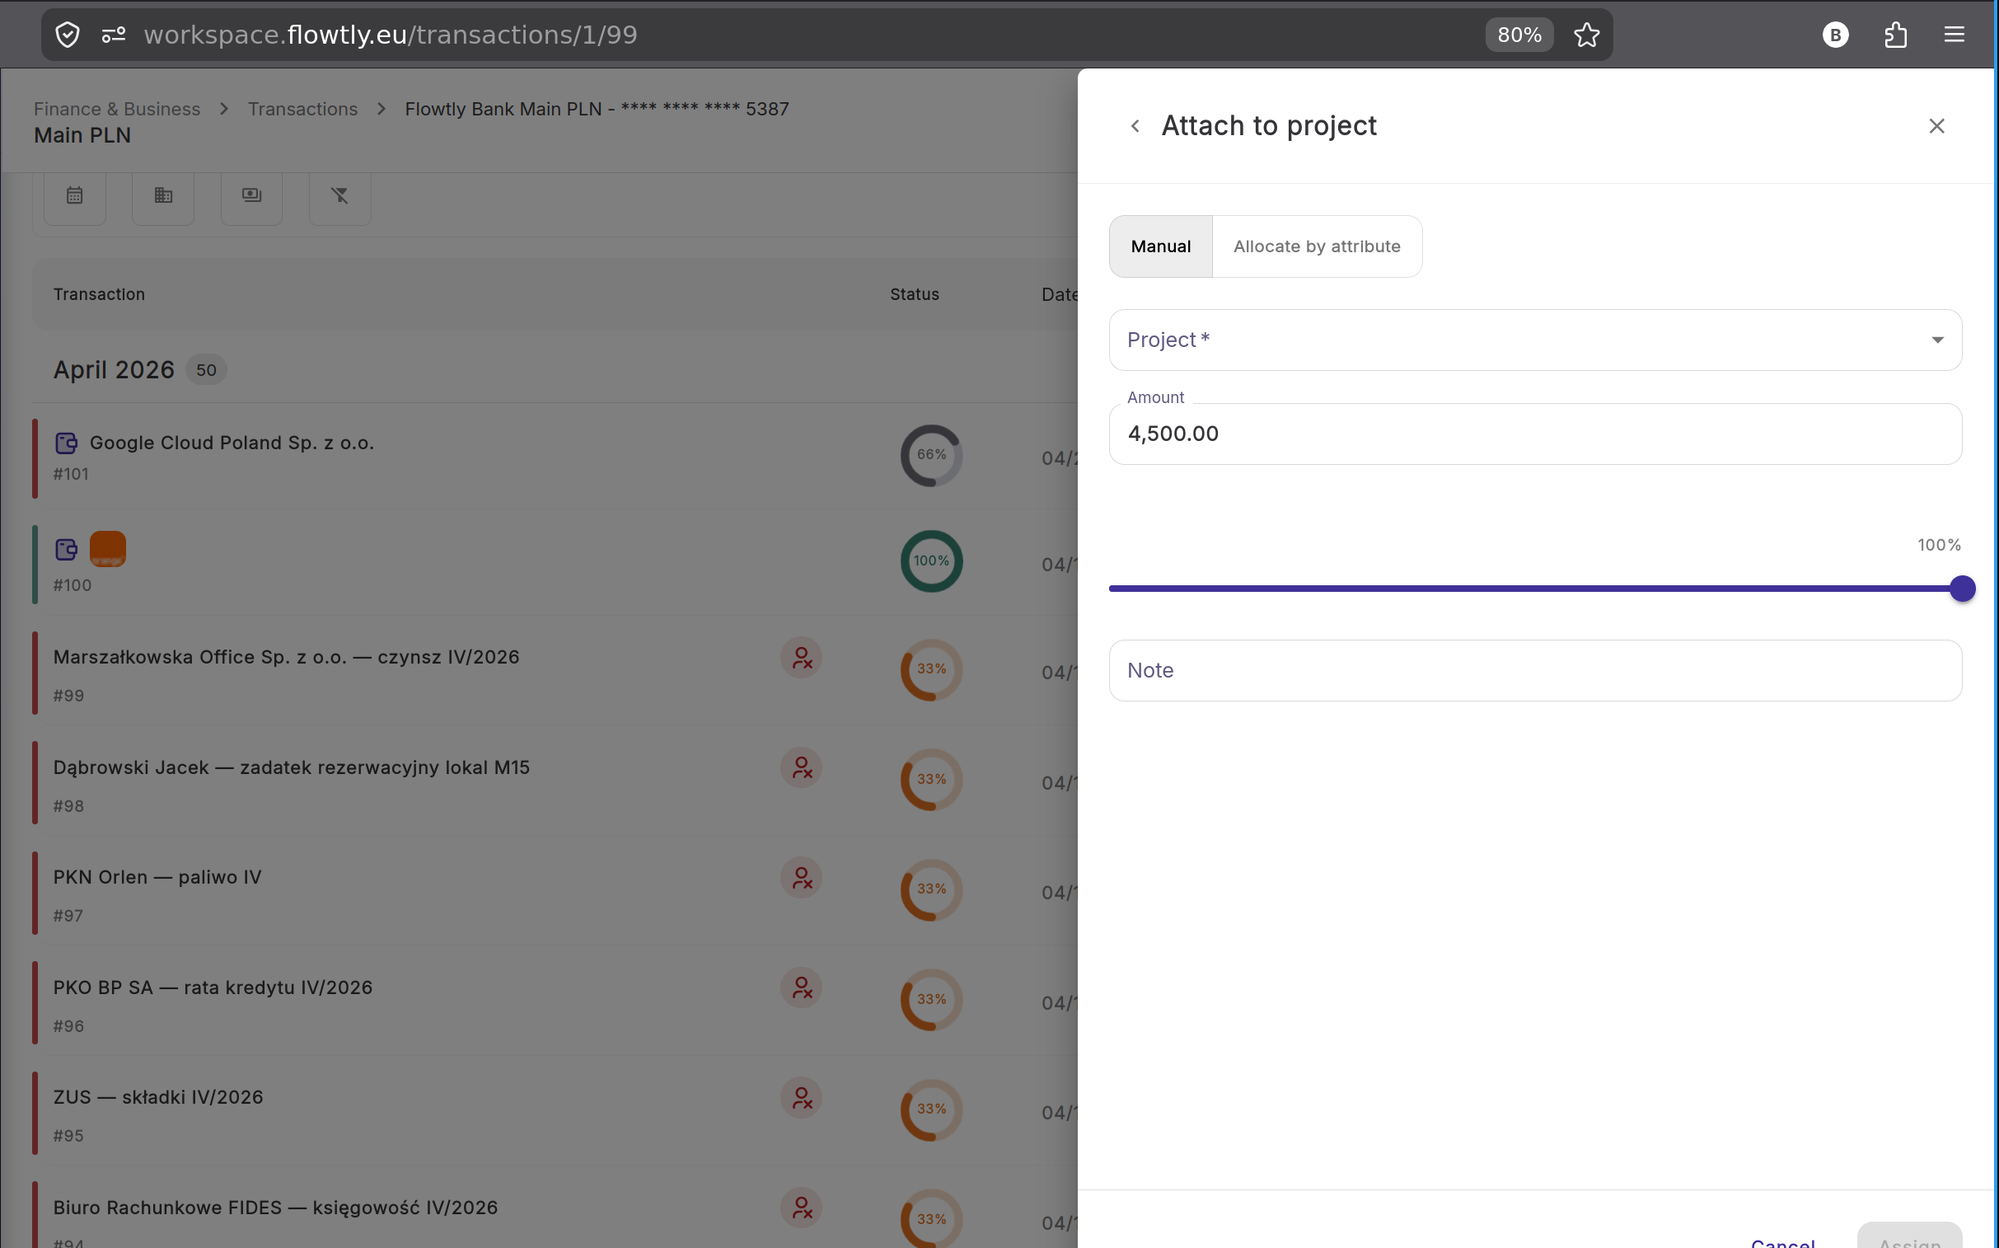
Перейдіть до Фінанси та бізнес → Транзакції. Список групує банківську активність за місяцями, з номером транзакції та назвою контрагента ліворуч. Стовпець «Статус» показує кольоровий індикатор прогресу для кожного запису: суцільний зелений (100%) означає, що всі необхідні дані є; часткові кружечки помаранчевого або сірого кольору вказують на відсутні поля.
Поради
- Транзакції групуються за банківськими рахунками. Використовуйте навігаційний ланцюжок у верхній частині для перемикання між рахунками, якщо у вашій організації їх більше одного.